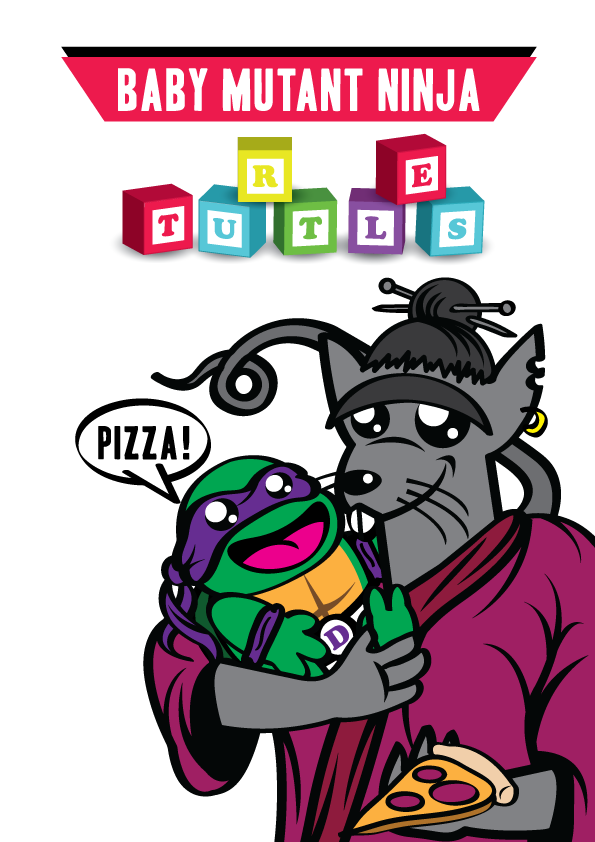
Hi guys, as often I do , today I am going to demonstrate another of my parodies around some famous cartoon character. As we were into a nostalgic vibe lately, I thought that the TMNT (Teenage Mutant Ninja Turtles) would be something fun to do. And so I decided to make a baby version of it, with a baby Donatello and a grandpa Master Splinter, not on a high detailed type of illustration, but on a more cartoonish way.
I also tried a fun effect with the title type so it could look like kids blocks, besides that I must admit this is a more step forward tutorial, so If you got some better understanding not only on the software, but also on drawing techniques. It will be way easier to solve it. Anyway, hope you guys have fun and remember that this is all about sharing knowledge and tips, If you learn anything from this I will be really thankful to you because that’s our goal.
Sketching
One of the best drawing exercises anyone can do it’s to draw famous characters, why? Because learning types form other pencilers and illustrators will increase you visual repertory, that means not just your techniques will improve but also your creative insights will be improved also. Before getting to the final idea, I decided to explore a bit the turtles character, as their body structure is a bit unusual from a classic human form used on most comics.
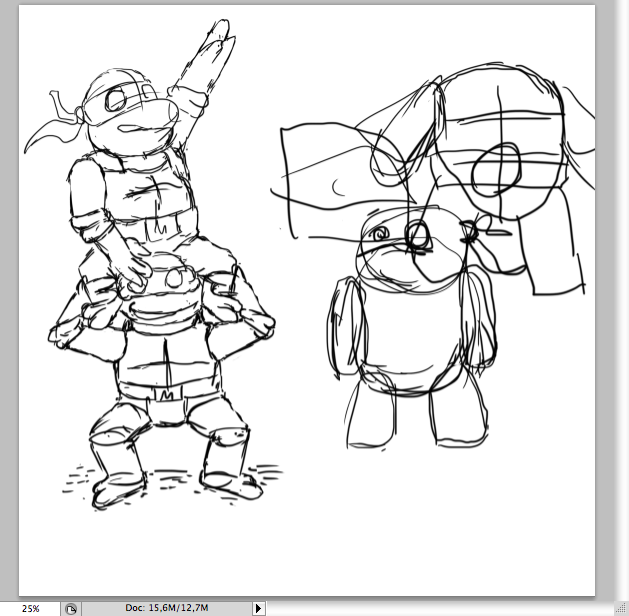
Well, after some hours I got this insight of making some kind of joke around the change from “Teenage” to “Baby” on the title. So my idea was to make the classic lettering on the top, although I thought about not using the classic green “turtles” logo and replace it by a kids block type would be way more interesting. So, now we can open Adobe Illustrator, on the downloadable original file on the bottom of this post we inserted the sketch so you guys could use it as a guide.
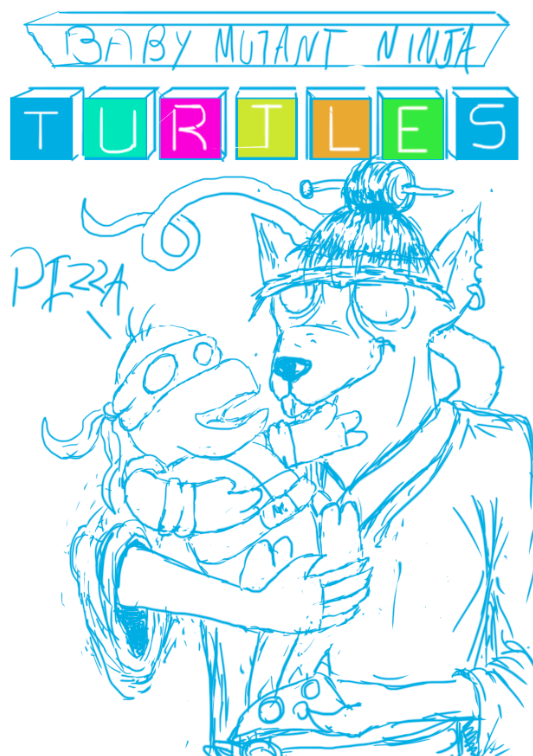
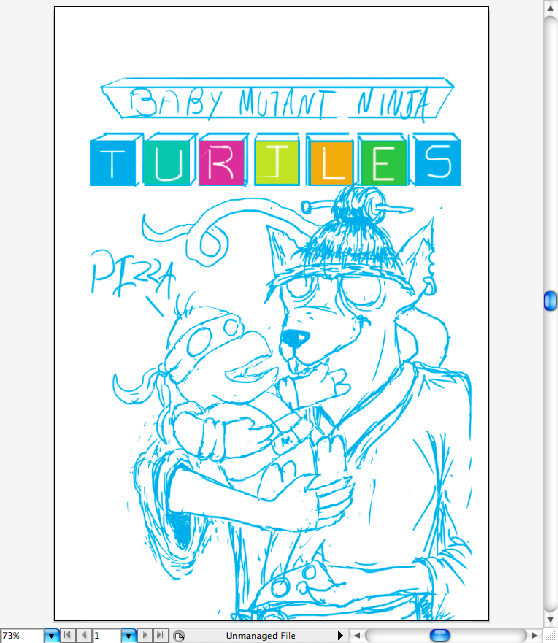
Title
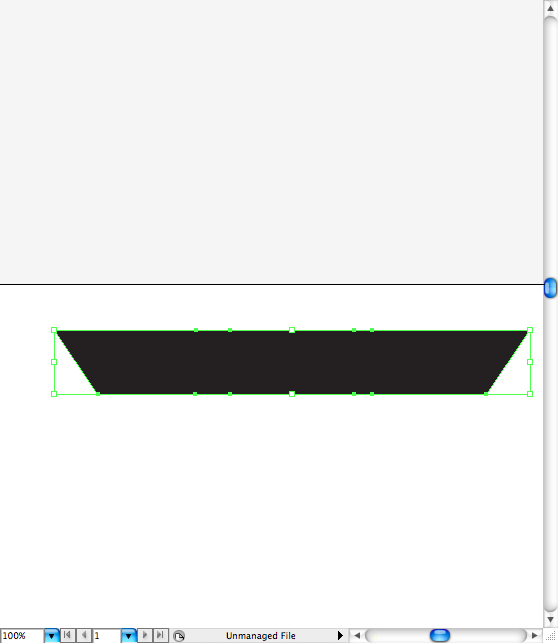
Let’s first make the classic headline, draw a rectangle using the rectangle tool (M)
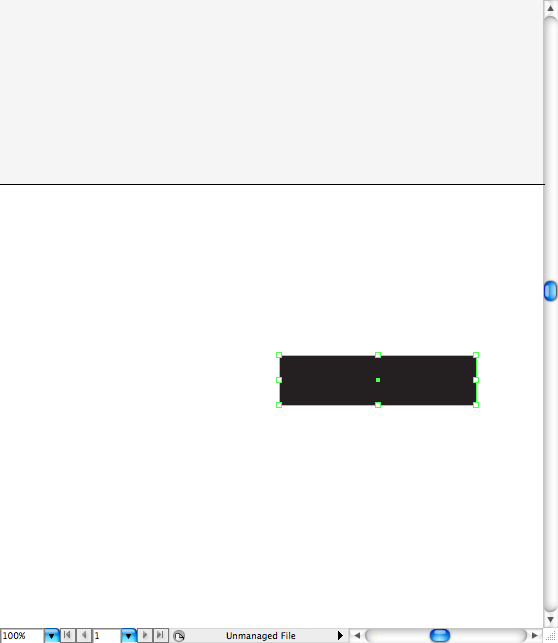
Use the direct selection tool (A) to pull one of the vector points.
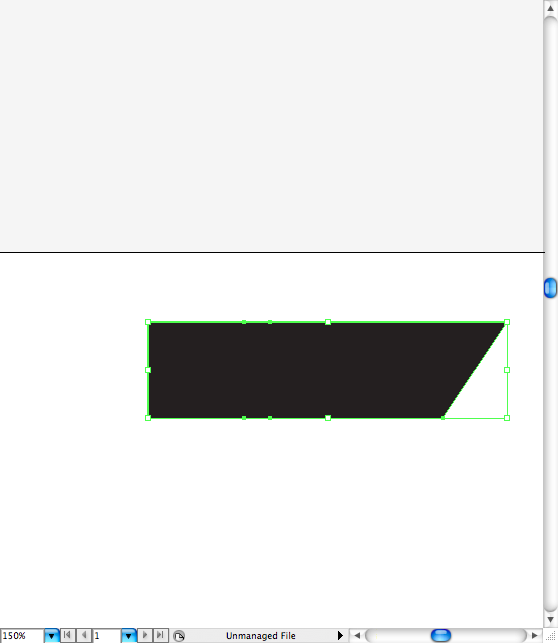
Ok, now duplicate it and flip it horizontally to the other side.
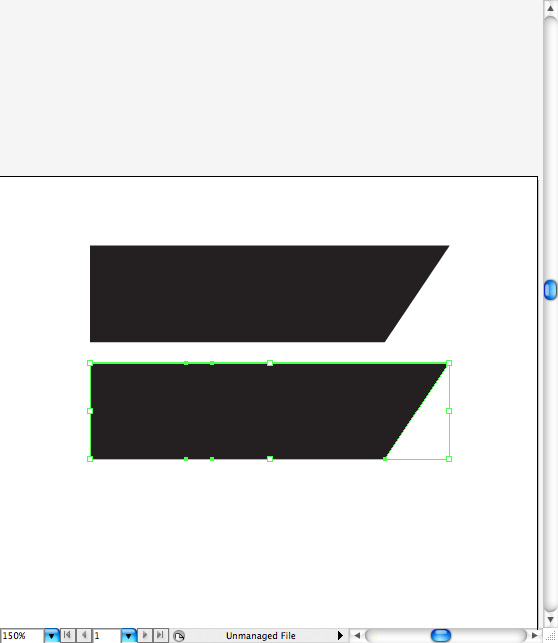
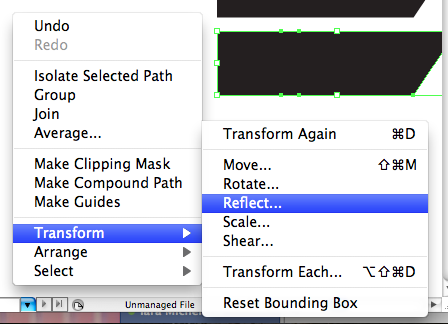
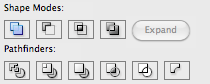
Select both parts and use the pathfinder option called Unite.
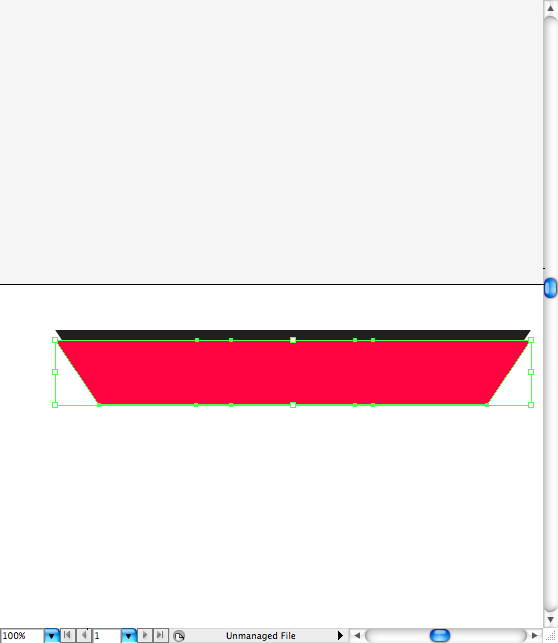
Duplicate it again, this time use a red fill on it and place it in front of the black one so it will looks like a hard shadow.
I decided to write “Baby Mutant Ninja” using the font called Headline, you can grab it here. Ok, so let’s proceed to the “Turtles” type, first I select a more childish type face, Cooper it’s a really good option in this case, please don’t you dare to use Comic Sans!
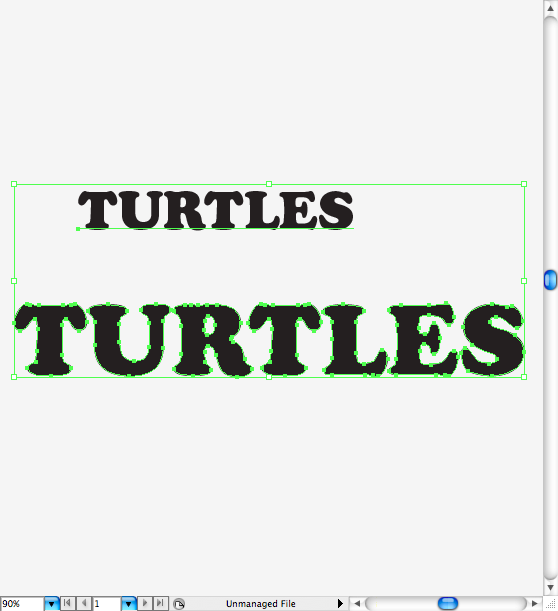
So we’re going to writes “turtles” and than make some outlines on it (command + shift + O / ctrl + shift + O). Than let’s create some rectangles with light colors using a internal stroke and set it as the image bellow, first go to the strokes panel and set it on the align stroke option. Some will say that it would be better to just do two rectangles, but I just think this is a lazy way to do the same thing.
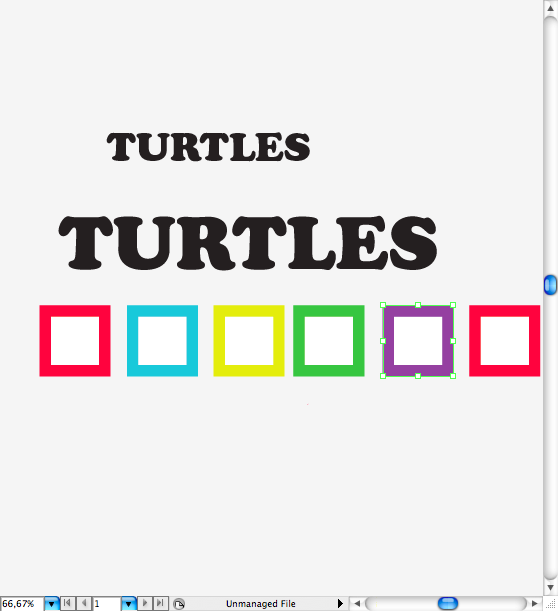
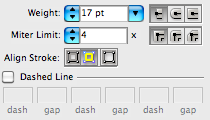
Anyway, get the letters and put then inside the squares using the same fill, then drag and drop then on the symbols panel. Name them so they can turn into a symbol.
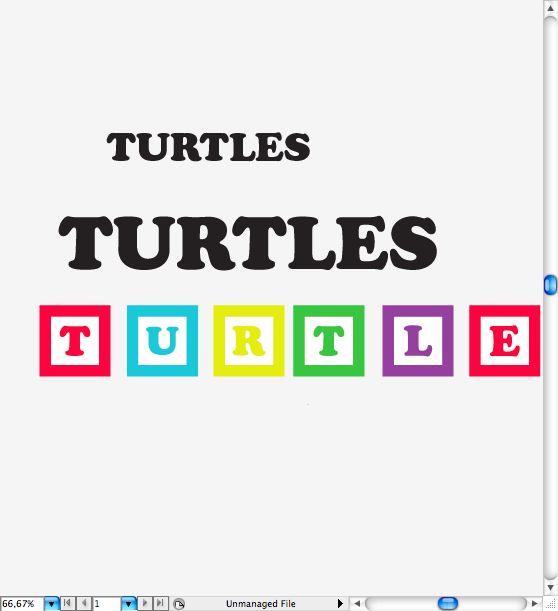
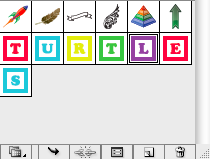
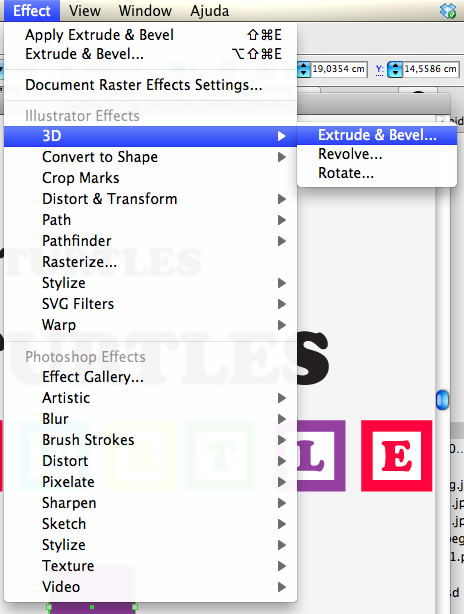
Now create another square using one of the light colors, go to Effect > 3D > Extrude & Bevel > Map Art.
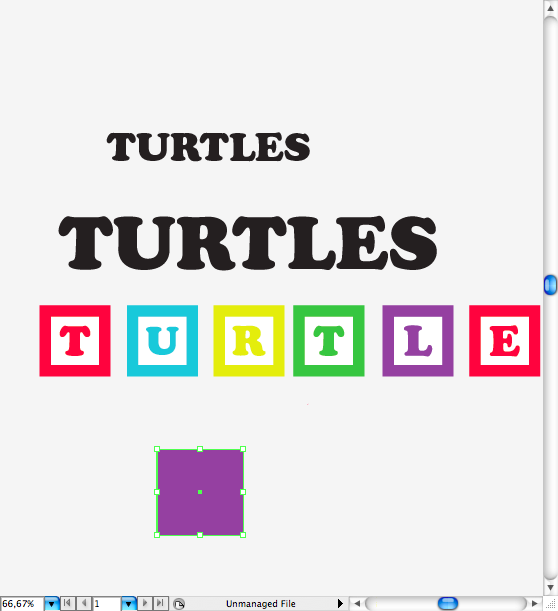
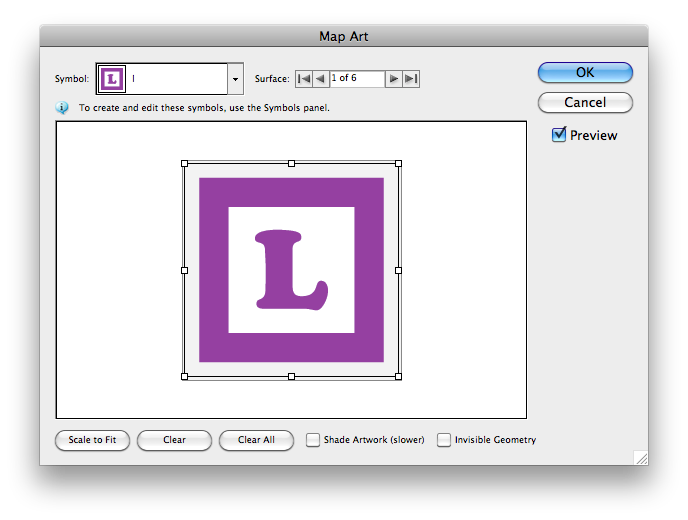
On the Map Art panel you can set the position and size of the image that will be displayed on the cube. Use the preview to make things easier.
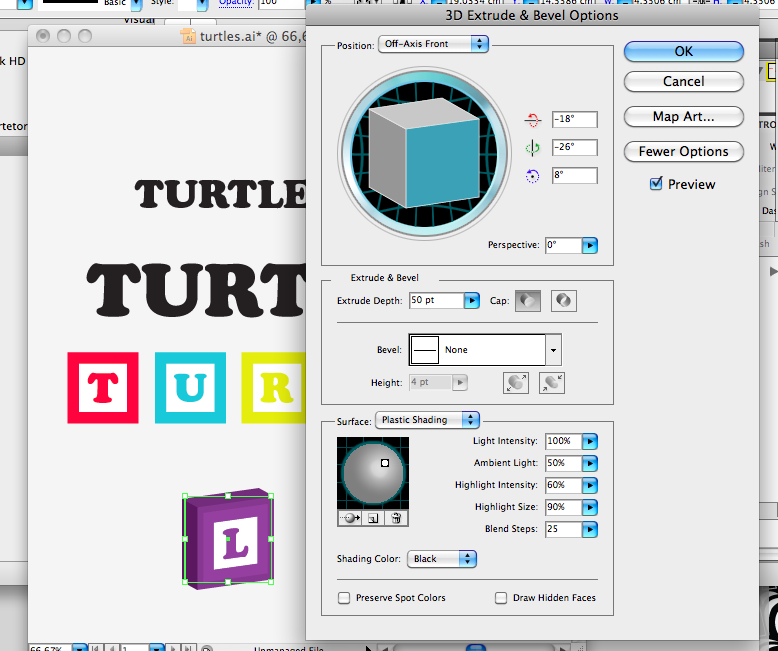
Repeat this with all the letters and try to display then randomly.
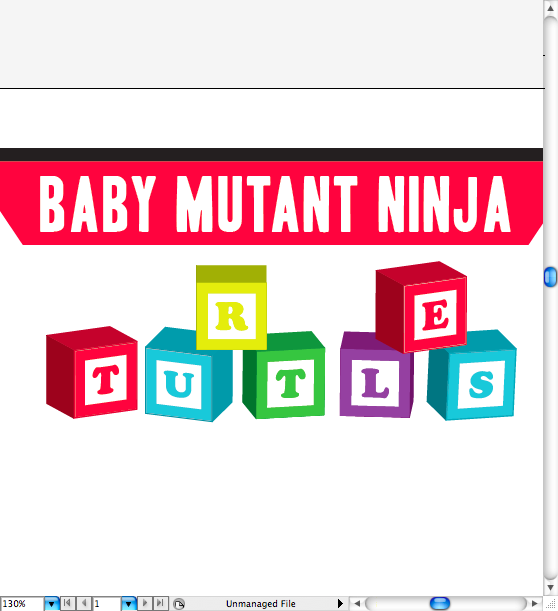
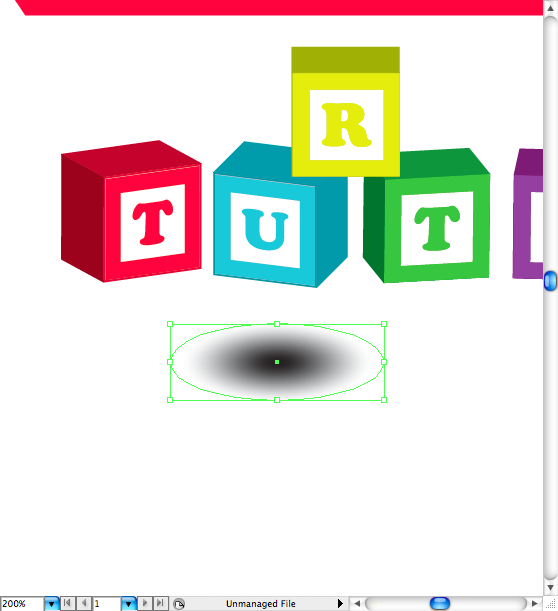
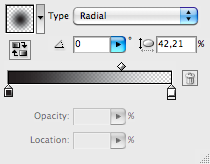
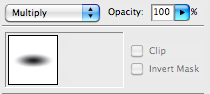
Let’s add some shadows, first create a ellipse using the ellipse tool (L), then go to the gradients panel and generate a fading radial black gradient, make sure one of the extremities it’s invisible (0% opacity). Also use the Multiply bleeding mode on the opacity panel.
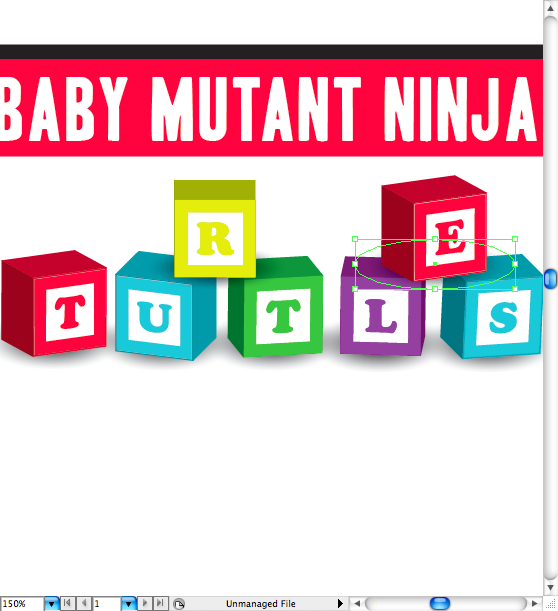
Ok, now put them bellow the cubes.
Donatello
Let’s start with head, first make a circle then adjust it (use the direct selection tool (A) for that) and create a extra vector point on it (use the pen tool (P) for that).
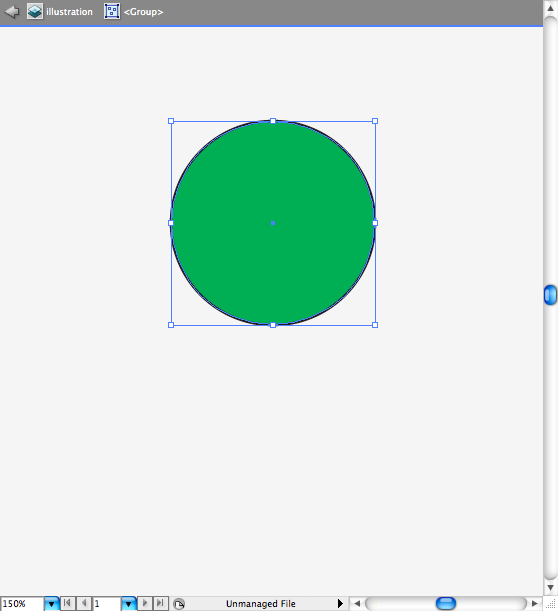
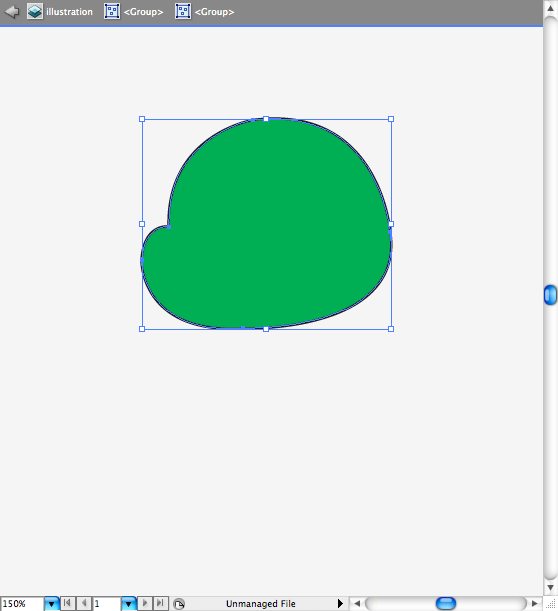
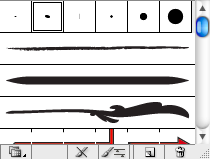
If you’re following my tutorials form a long time you already know I’m addicted for this brush: 5 pt. Oval. Go to the brushes panel and select it.
Draw the mask using the pencil tool (N). Then use the ellipse tool (L) to make the node and then use the pen tool (P)
to make the ties.
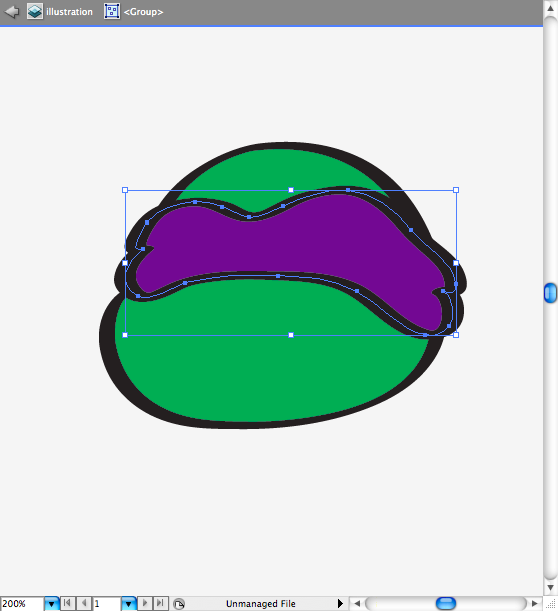
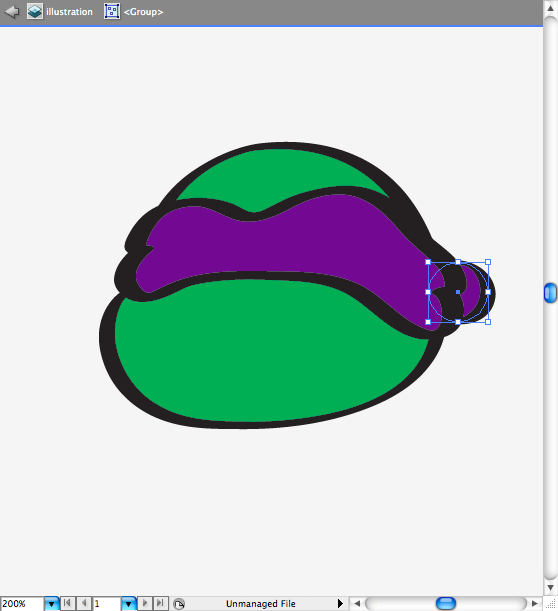
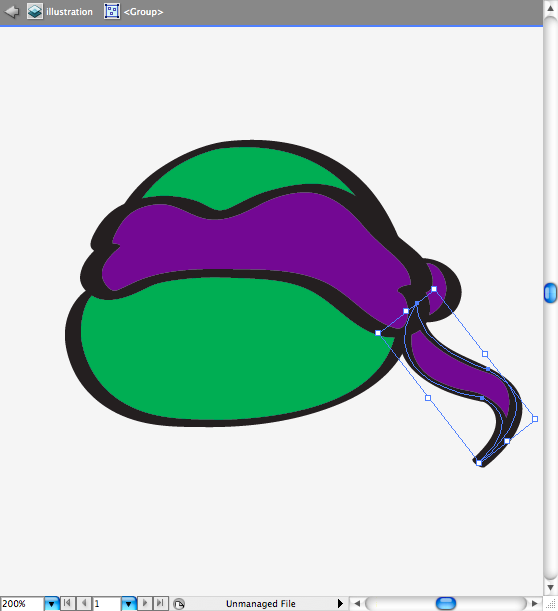
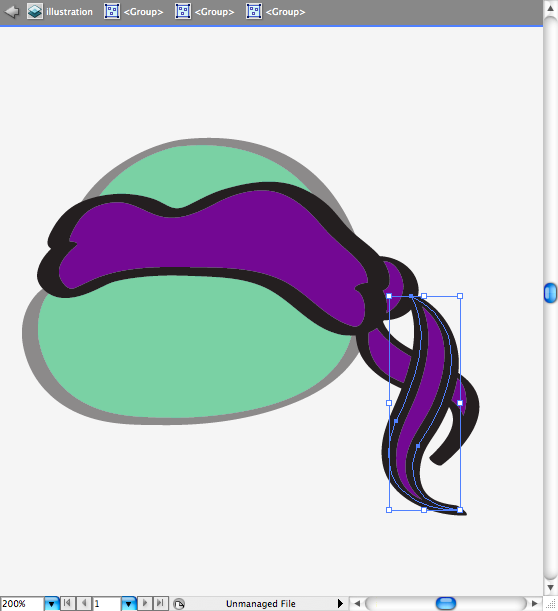
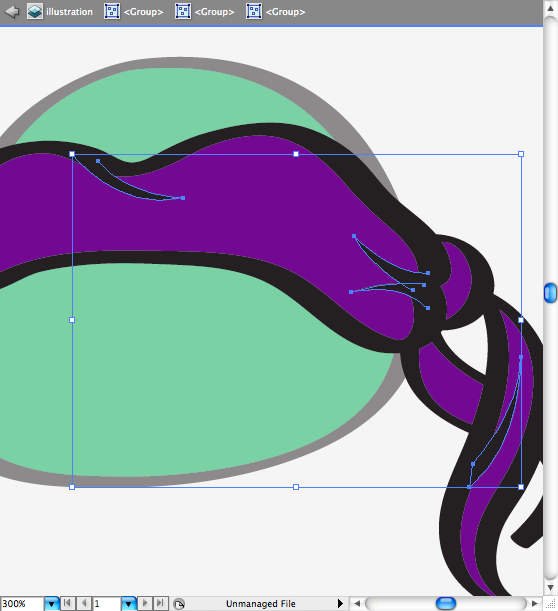
I’m also addicted to wrinkles and so I decided to add some here and there, not too many of course.
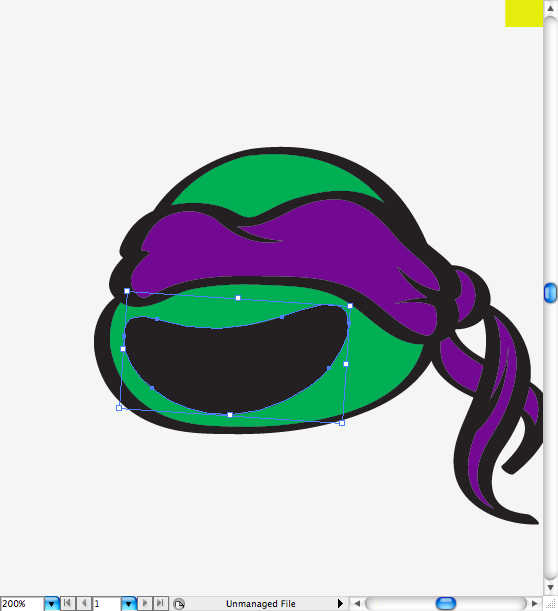
Make a ellipse and adjust it using direct selection tool (A) and the pencil tool (N) to make the mouth.
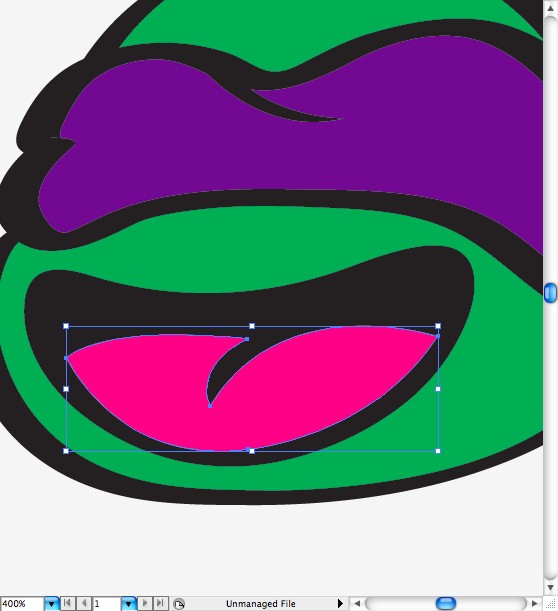
Make the tongue using the pen tool (P) and use the mouth contrast to make the outline.
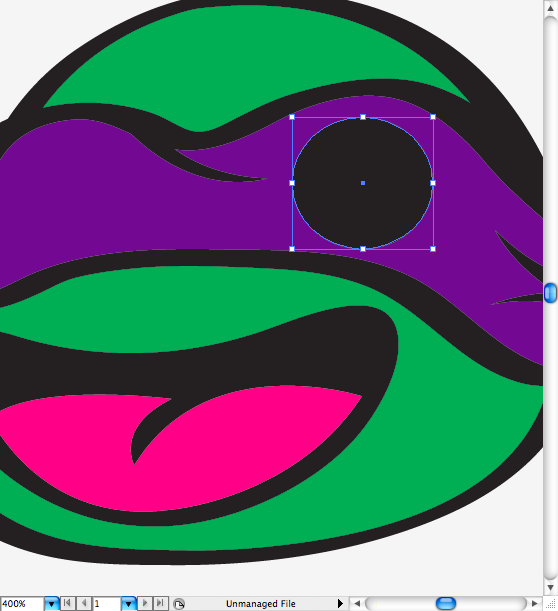
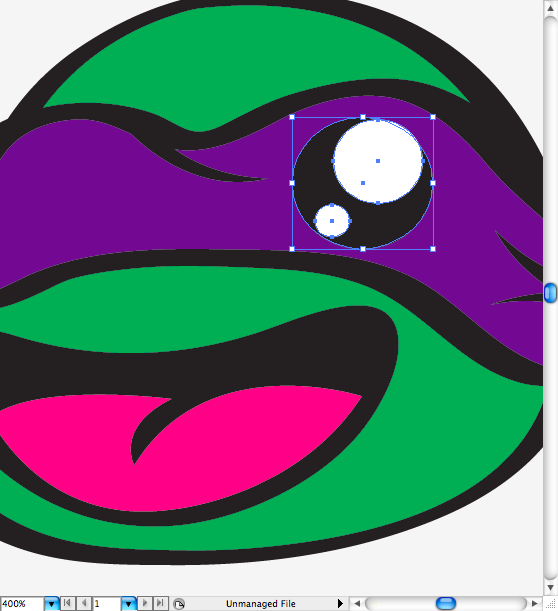
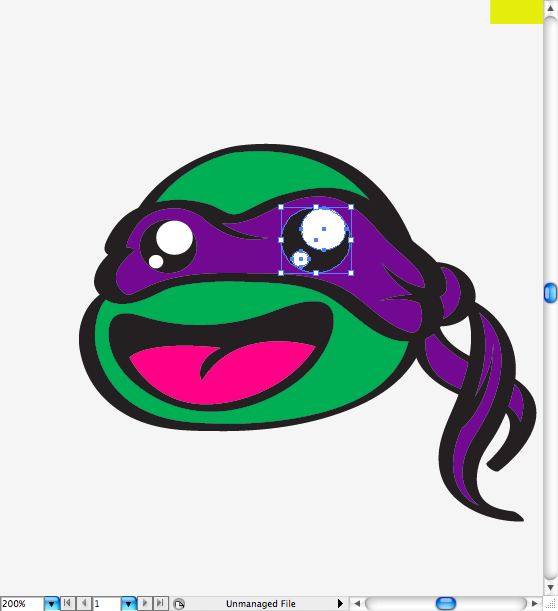
I love hard and plastic eyes, they look so bright and happy, hard to find a better way to make you character look happy without this childish element. it’s quite simple: make a big black circle and tow white circles inside of it.
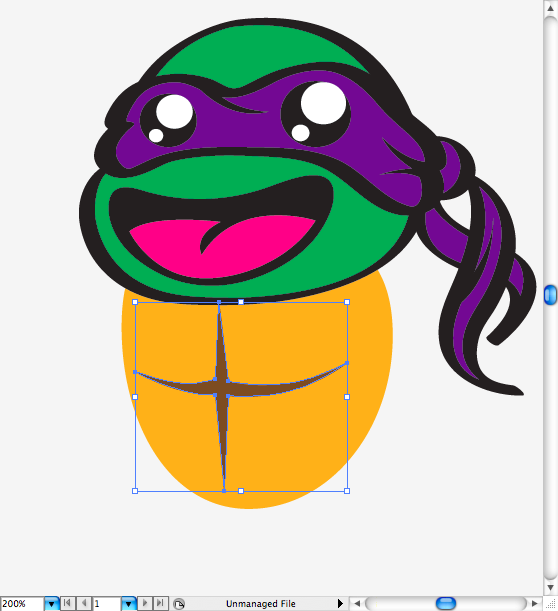
The rest o the body it’s really simple, you’re going to make a big ellipse, adjust it and make a muscle division using the pen tool (P). Okay, this was the belly, then just duplicate the same shape, drag it a bit to the right, use a green fill and thick stroke. Do the same thing on the shell.
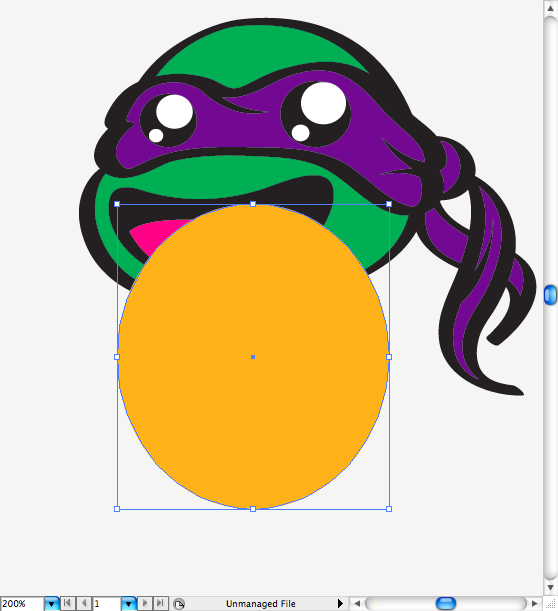
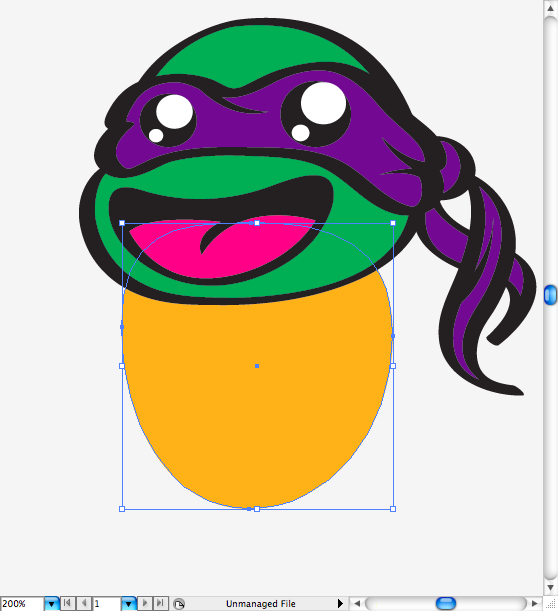
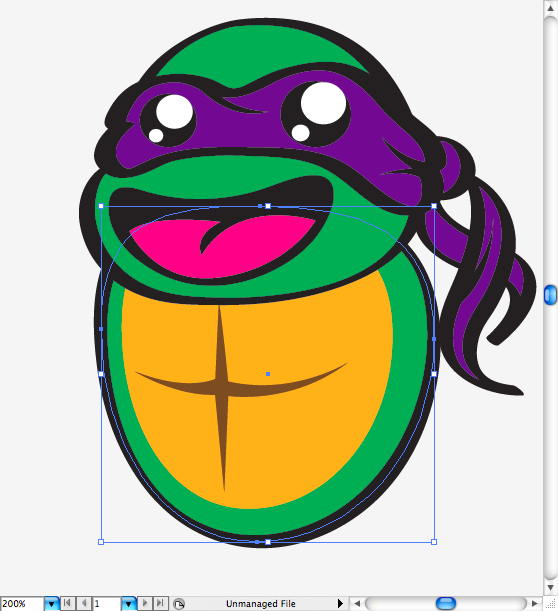
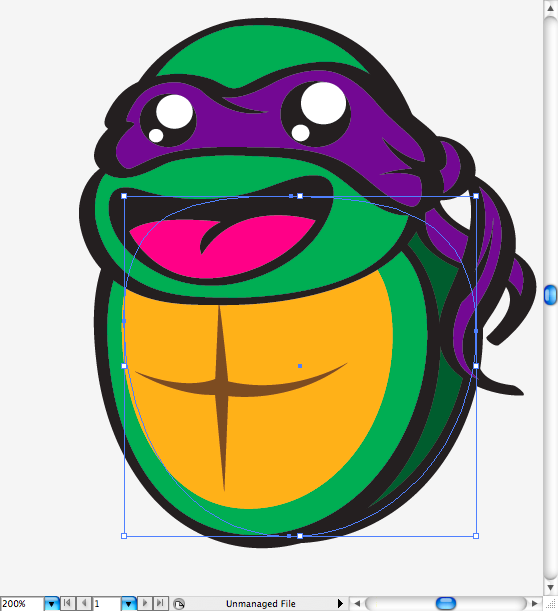
As a baby, our turtle should use a diapers, so make another circle and adjust it using direct selection tool (A) or the pencil tool (N).
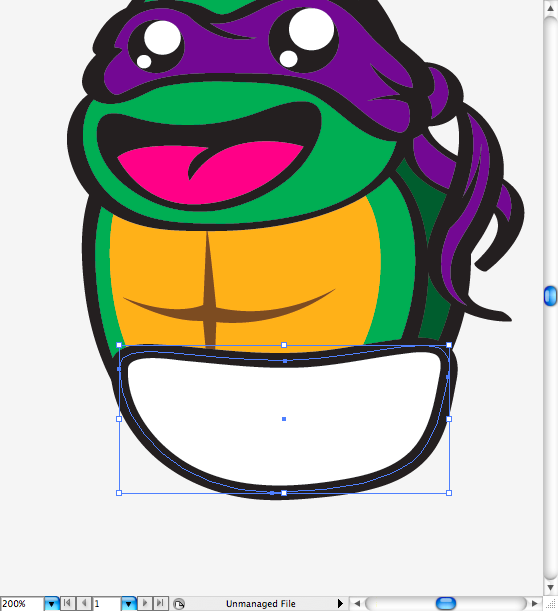
Make a sort of belt over it using the pen tool (P) and make a circle on the middle, write the letter “D” on it.
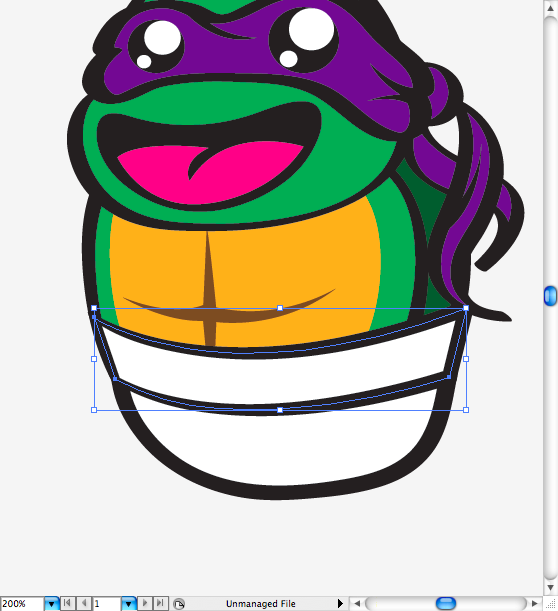
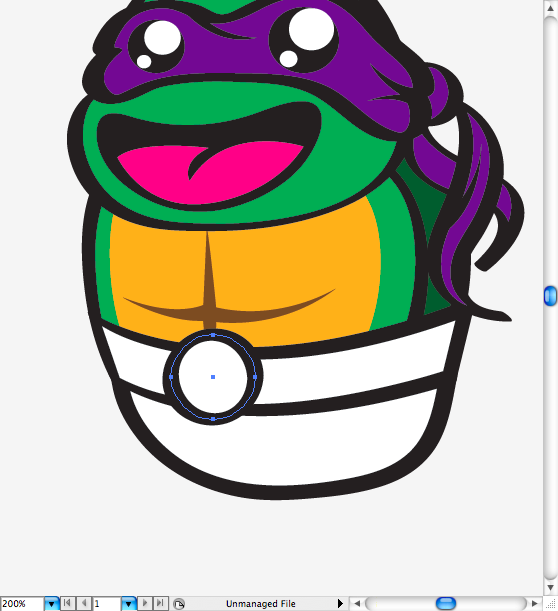
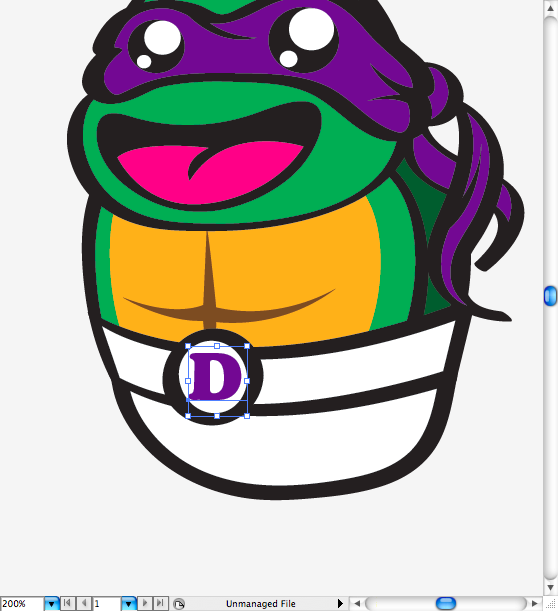
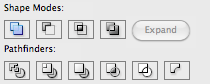
You can make his legs by simply using ellipses and blending them together using the Unite tool on the pathfinder panel. Then just duplicate it, flip it to the other side and adjust it to the correct perspective.
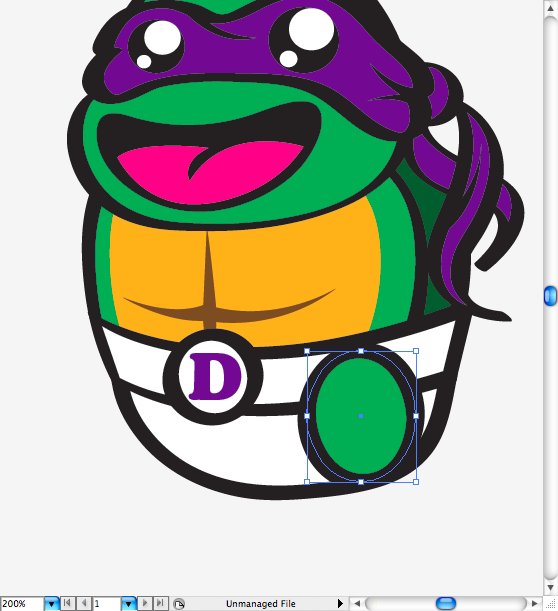
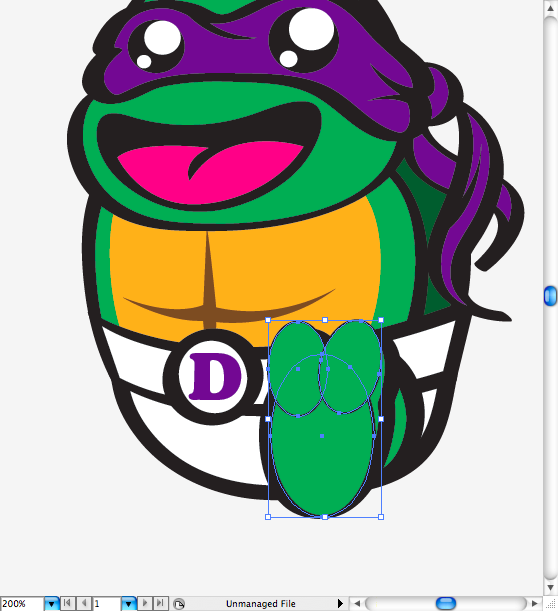
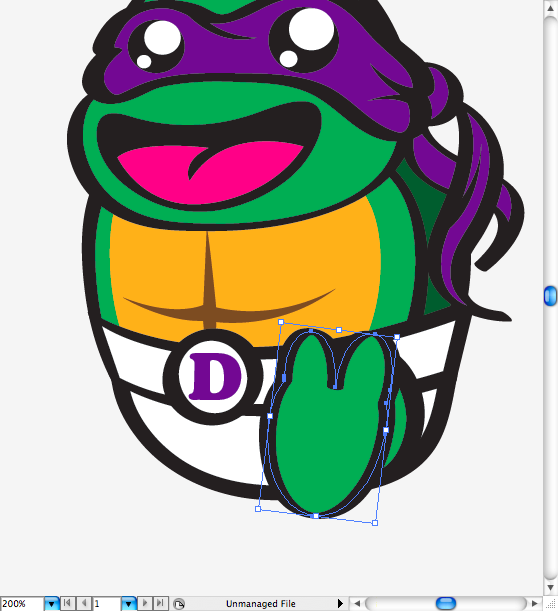
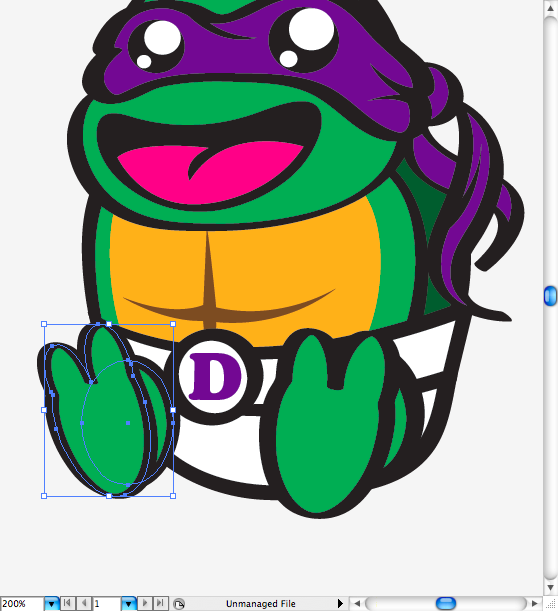
The process behind the arm it’s actually the same, just a bunch of ellipses arranged and blend together.
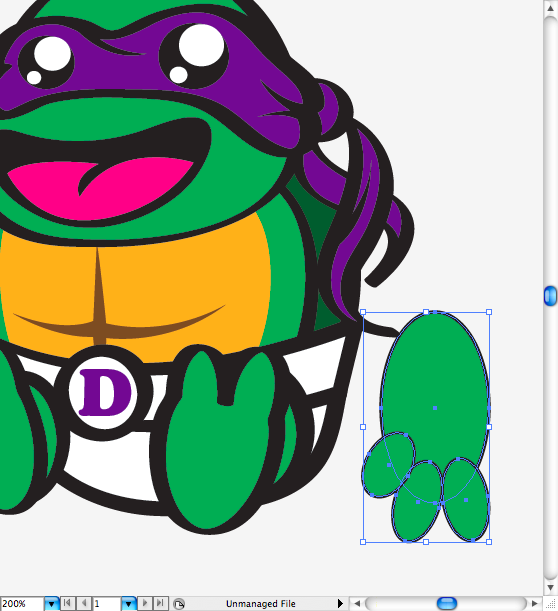
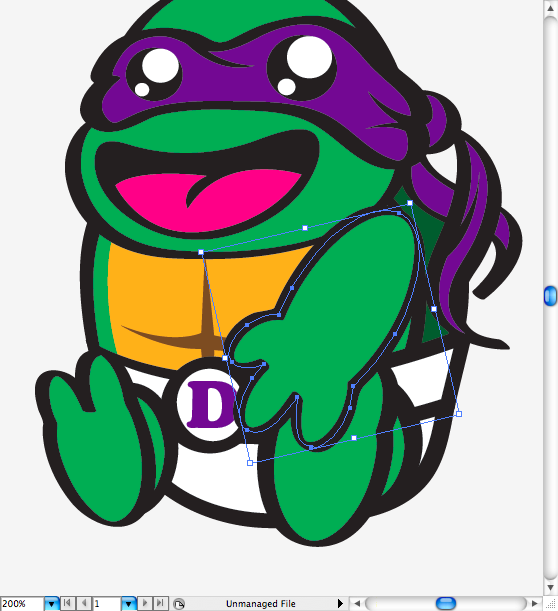
Don’t forget to make this clamp on his arm, make first a ellipse then use the pencil tool (N) to create the wrinkles on each side. Use the brush tool (B) to make a wrinkle on the middle of it.
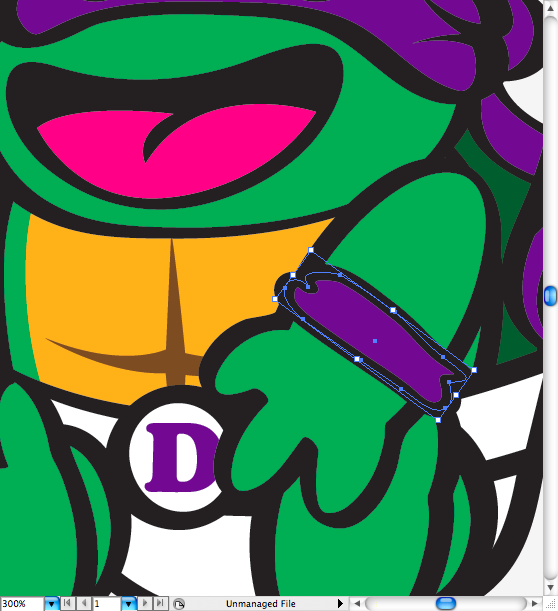
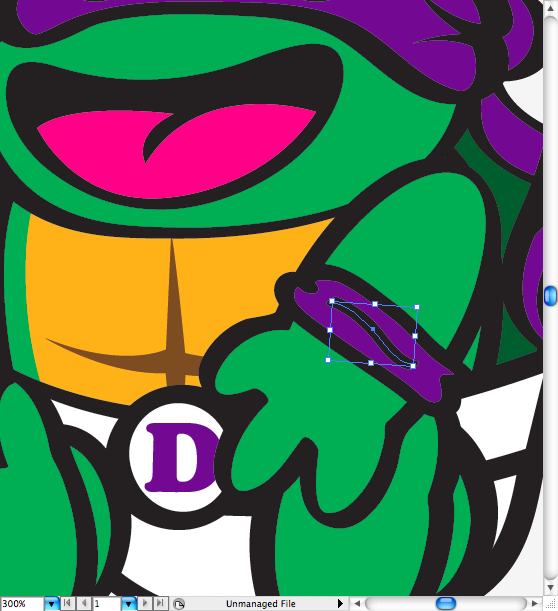
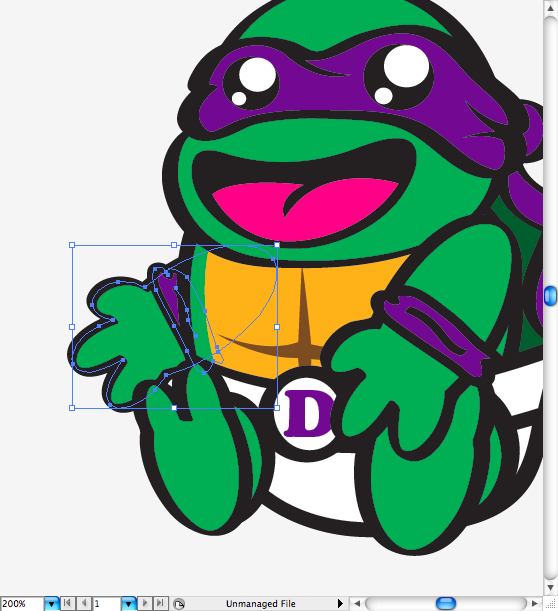
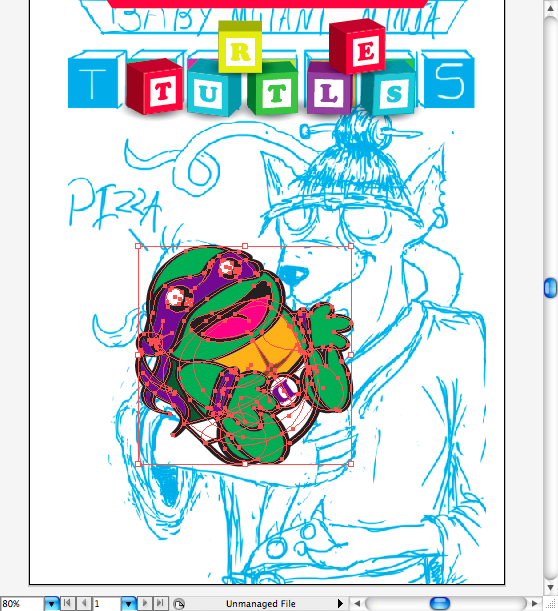
Ok now just duplicate the arm, send it to back and adjust the perspective. Now let’s place our little buddy exactly were he was supposed to be on the original sketch.
Master Splinter
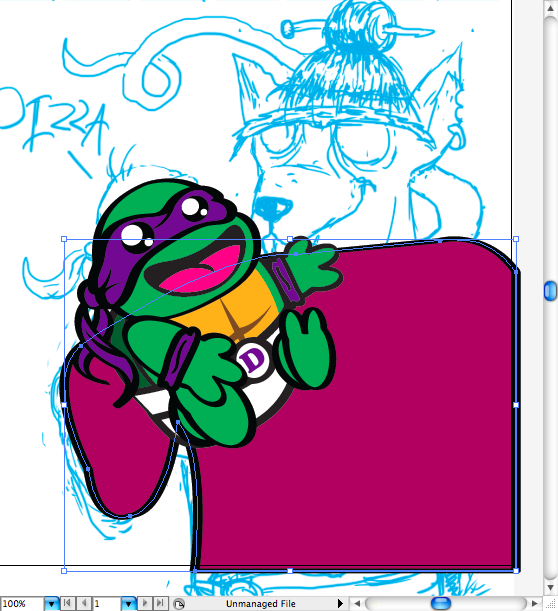
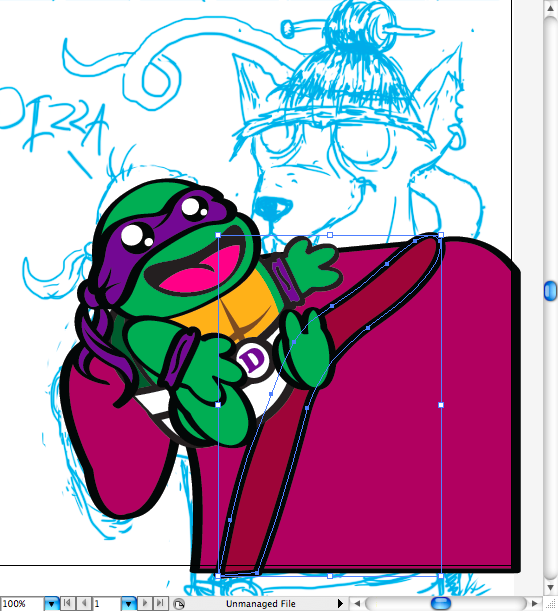
Master Splinter is actually a bit more boring to draw on this case, so If you’re note good with the pen tool (P), you may get a bit dizzy on this part. So first I traced the robe with previous tool, then added the detail on the chest, I also draw the the tail.
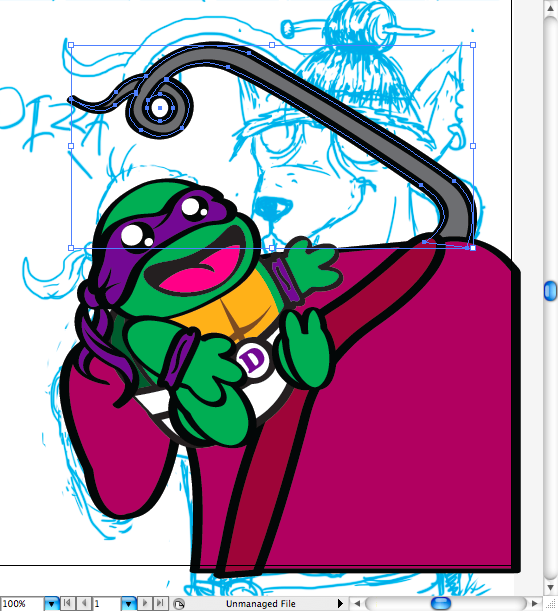
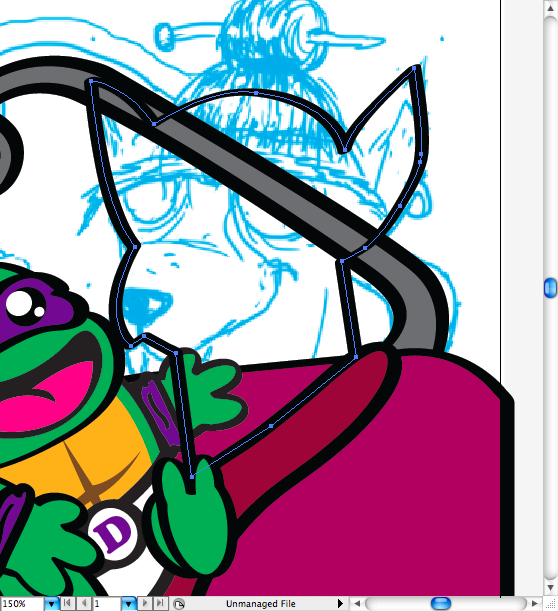
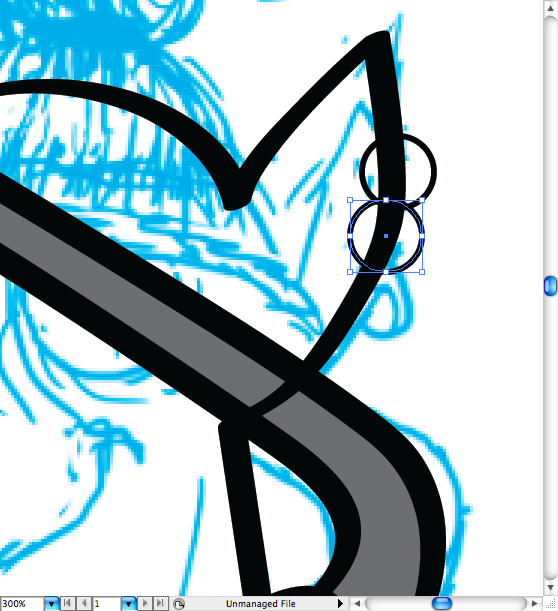
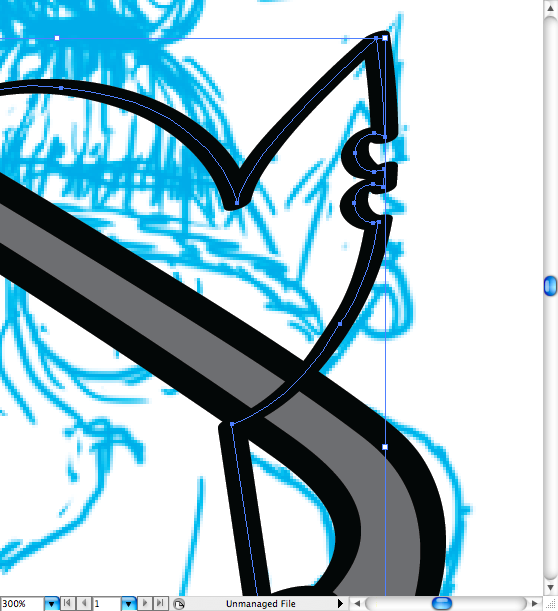
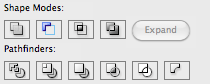
I traced the head using the pen tool (P), I really like those bitten mouse ears so to get this I just inserted two circles over the ear, selected everything an used the minus front option on the pathfinder panel.
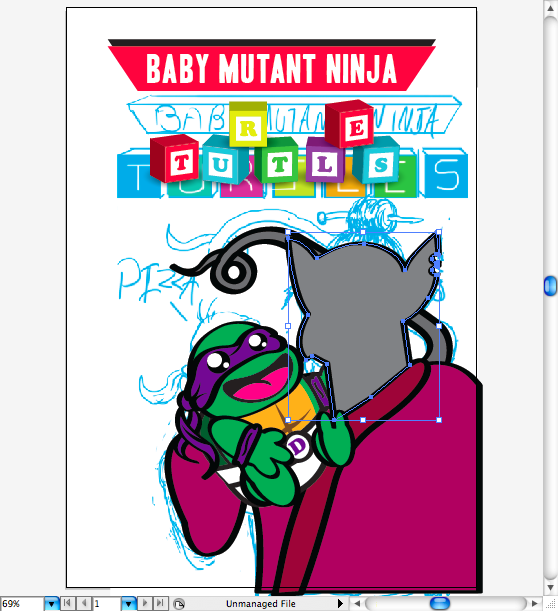
Just made a ellipse and used the brush tool (B) in order to make the division on the teeh.
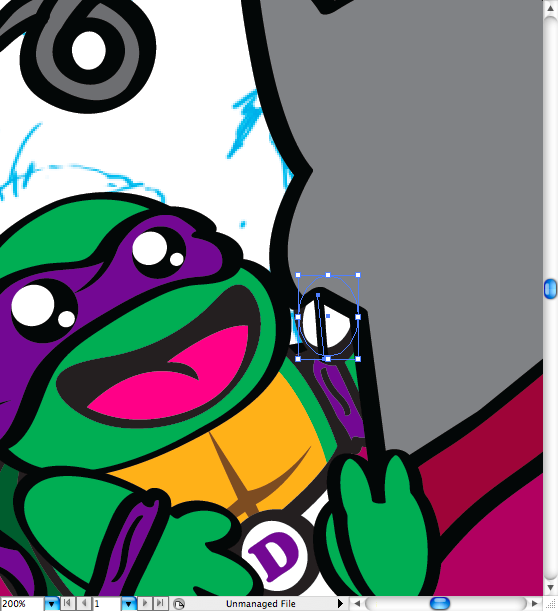
I also used the pencil tool (N) to draw a simple earring on it.
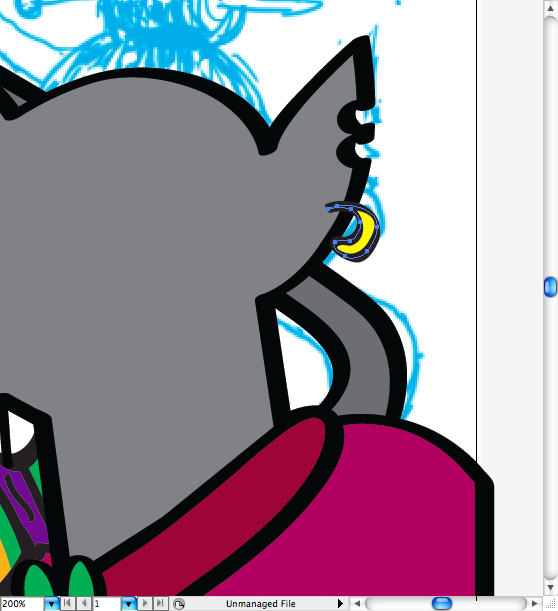
You can copy and paste the eyes, since they are exactly the same, just adjust the volumes.
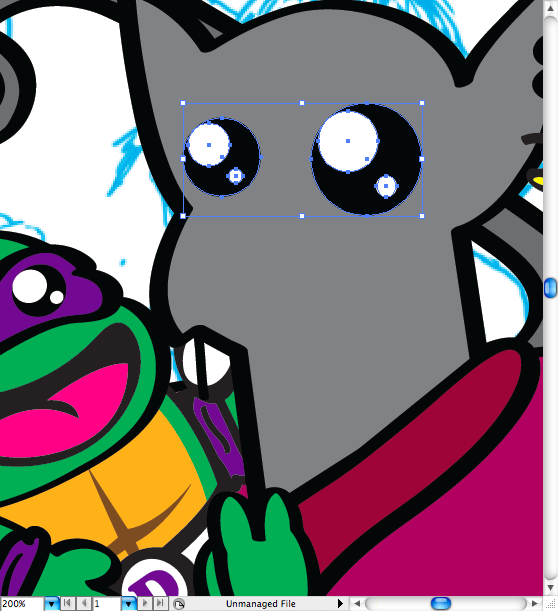
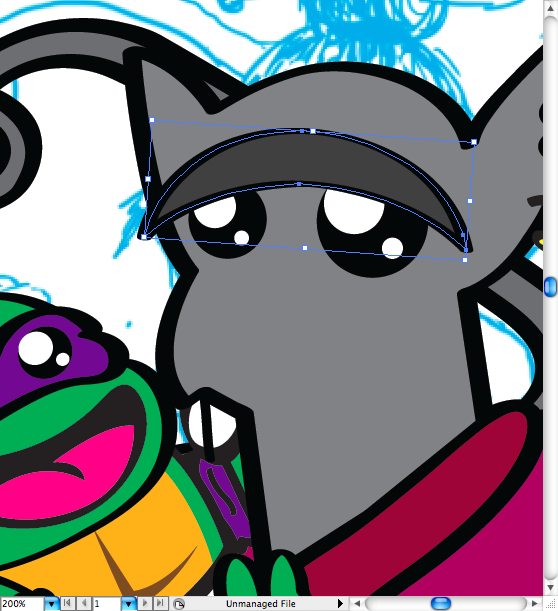
I decided to add this big thick eyebrow using the pen tool (P) on Splinter to give him a old and condolence look, that type of look your grandpa probably use/used to look at you.
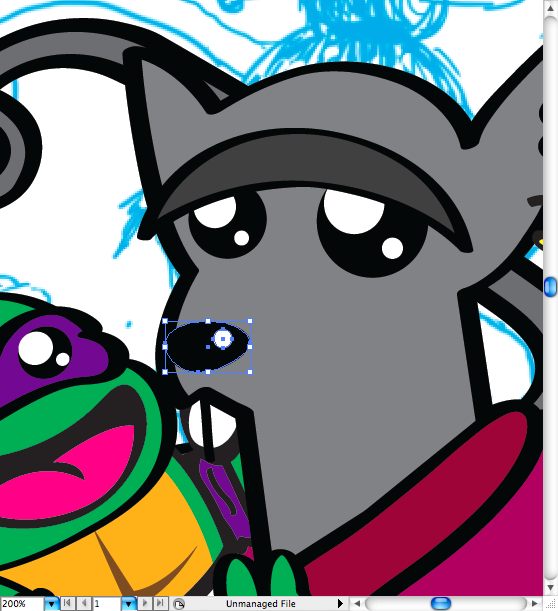
The nose it’s a adjusted eclipse and little white circle on the the extremity.
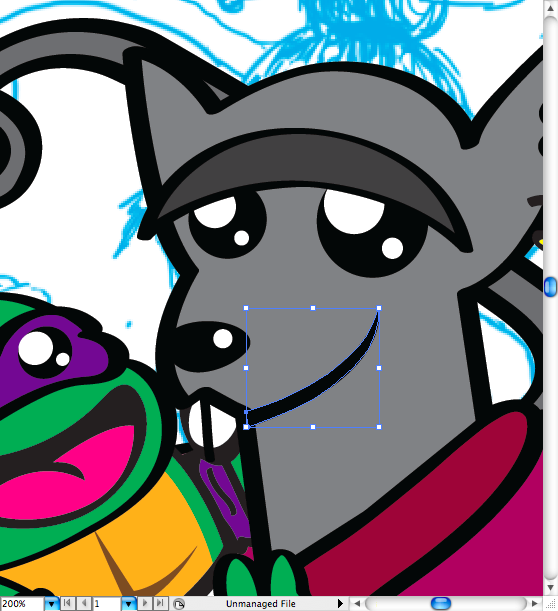
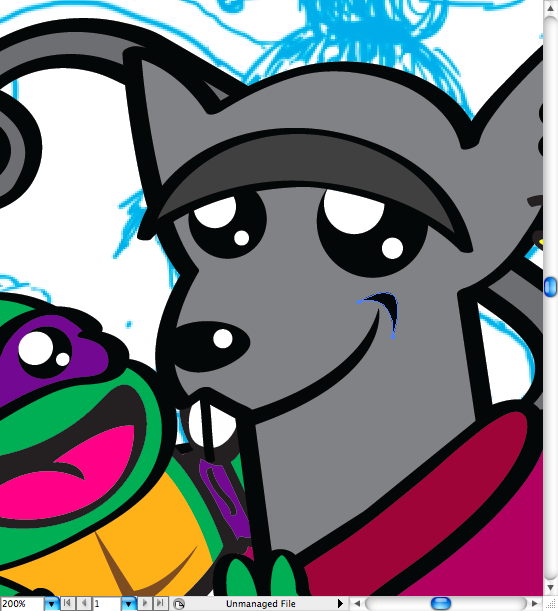
Using pen tool (P) I create the shape of the mouth, a wrinkle on the end of it to look like he’s happy. Another wrinkle between the eyes to give depth and, of course, to create the whiskers.
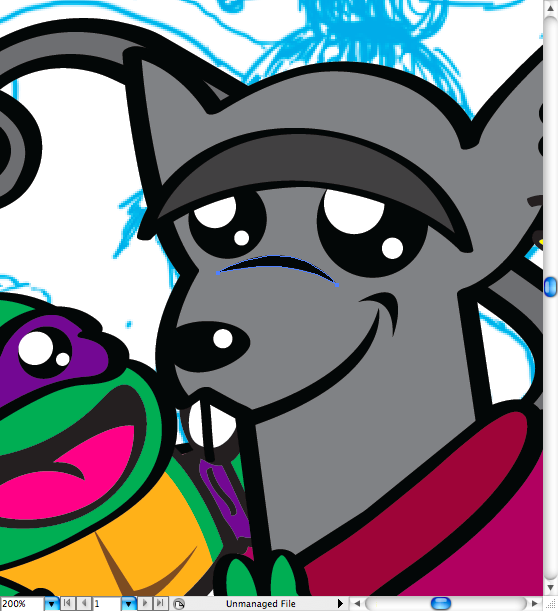
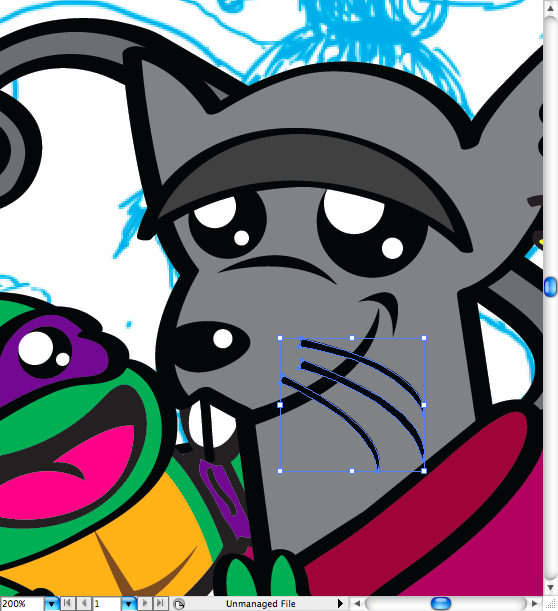
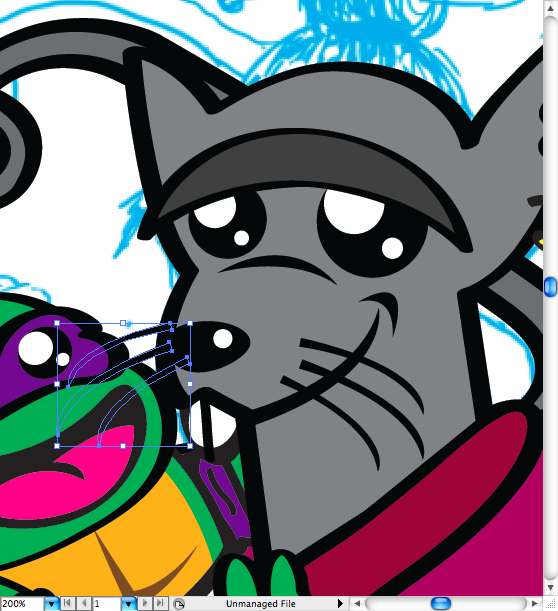
I wanted him to have those old grandma hairstyle, pulled to the back with some hairpins on it. So first I made a ellipse, another ellipse and adjusted it with the pencil tool (N) to get that cracked look on the bottom.
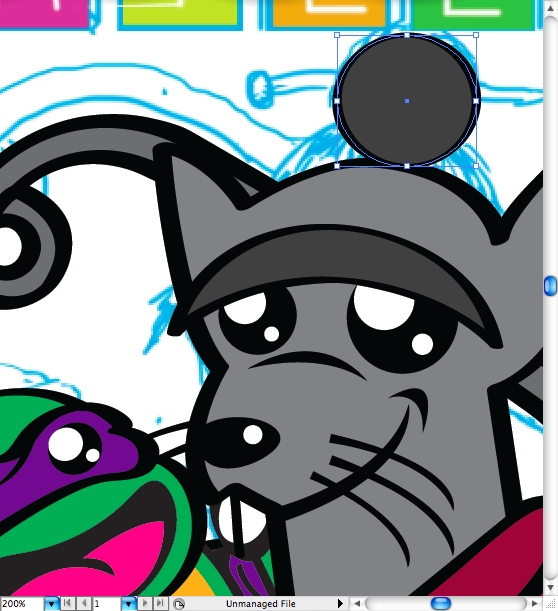
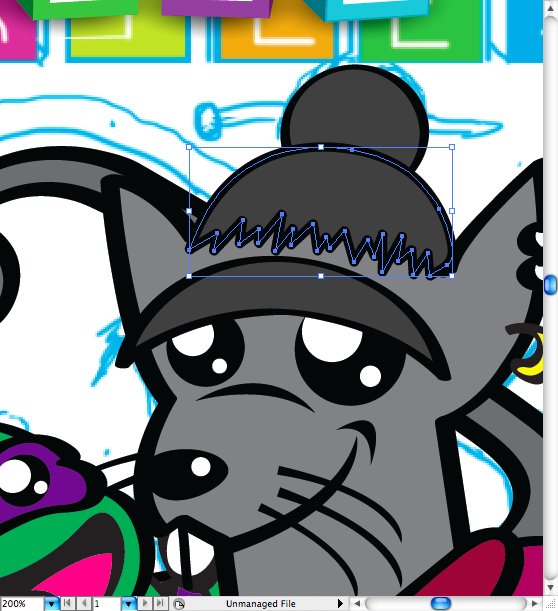
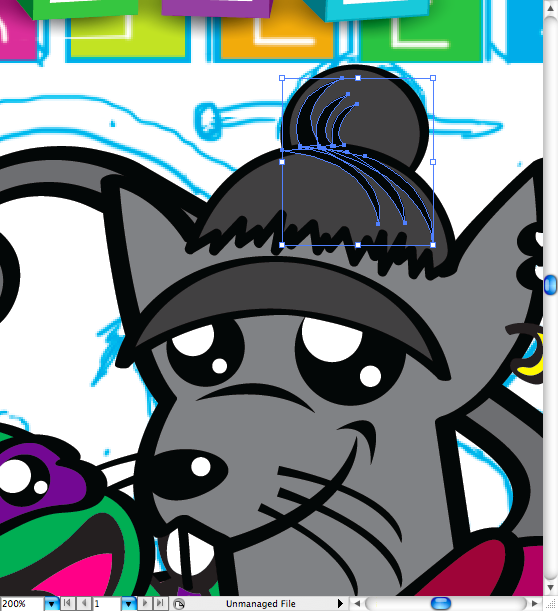
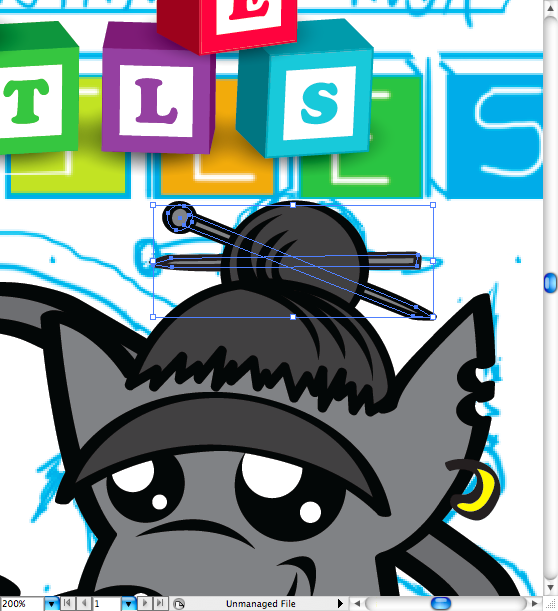
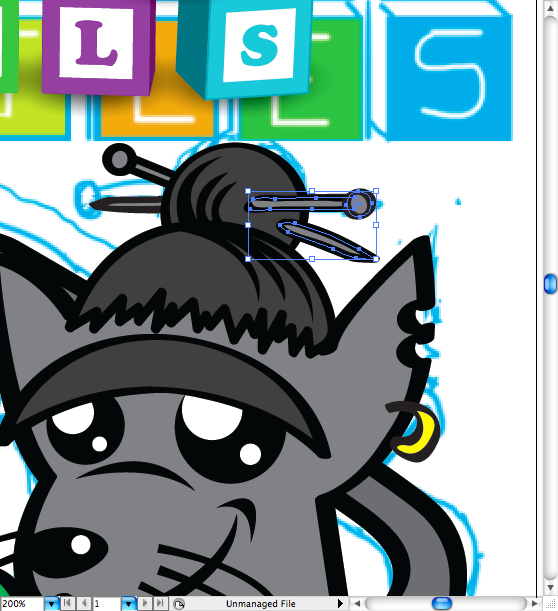
Using the pen tool (P) I made some hachure to give some depth on the hair. After that I create this hairpins unsigned the previous tool and the ellipse tool (L). Fist I made then on the back, duplicate then and brought then to the front. As I wanted to give the impression they’re indie the hair I just pick the copy I did and cut it using the pencil tool (N).
This part may seem a bit messy, but it’s simpler than you may think. First make the sleeves holes using the ellipse tool (L). Then make the robe wrinkles using the pen tool (P).
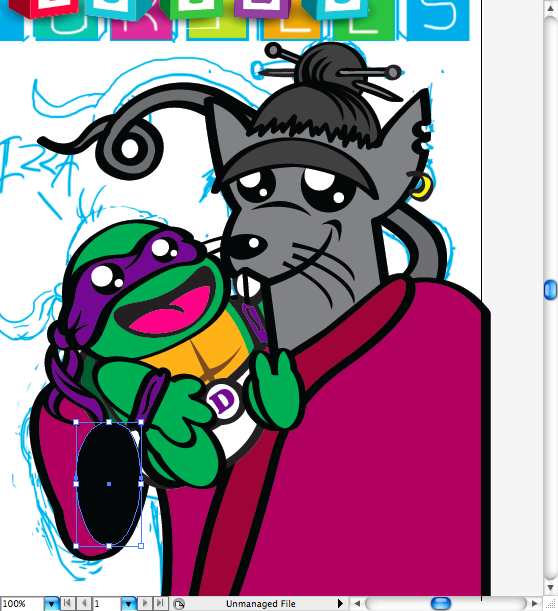
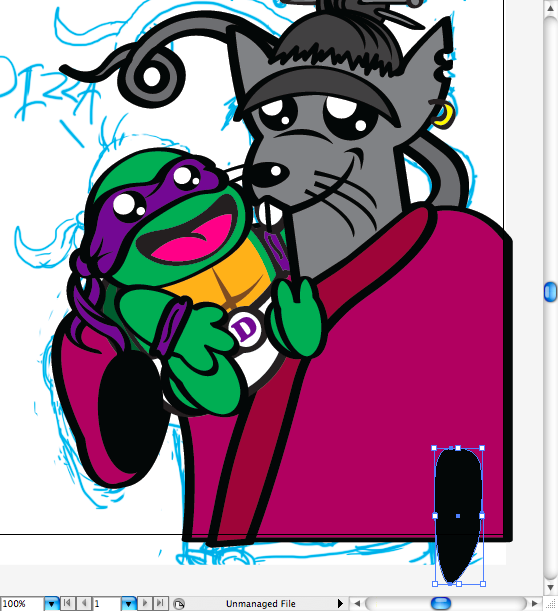
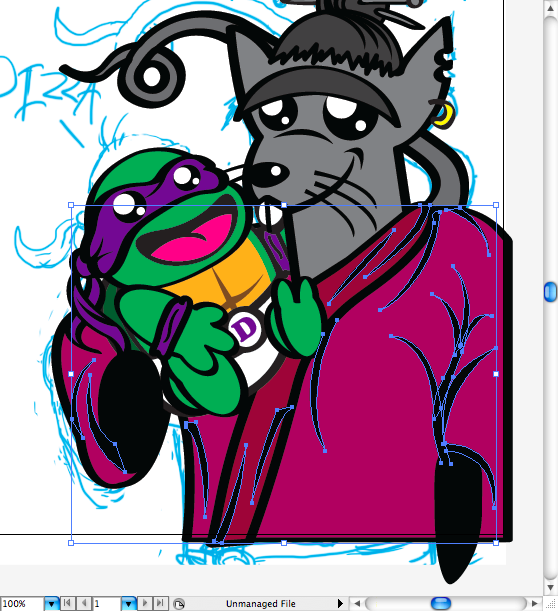
I hate to say that, but there’s not a shortcut for drawing both hands, but you can try to use ellipses as we did on the previous character, If you don’t fell comfortable to use such tools as the pen tool or the pencil tool.
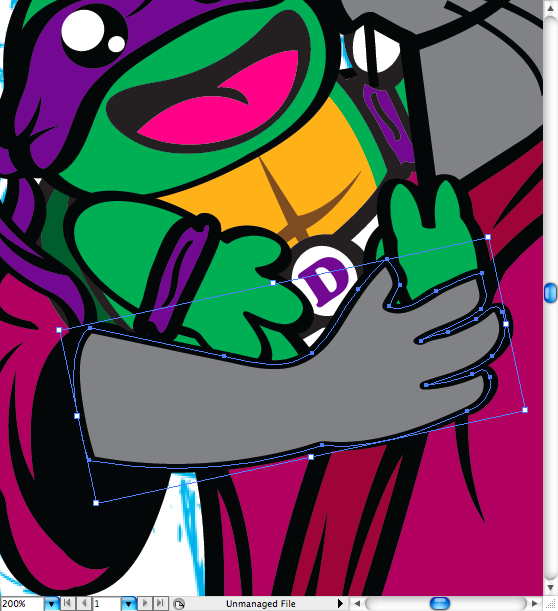
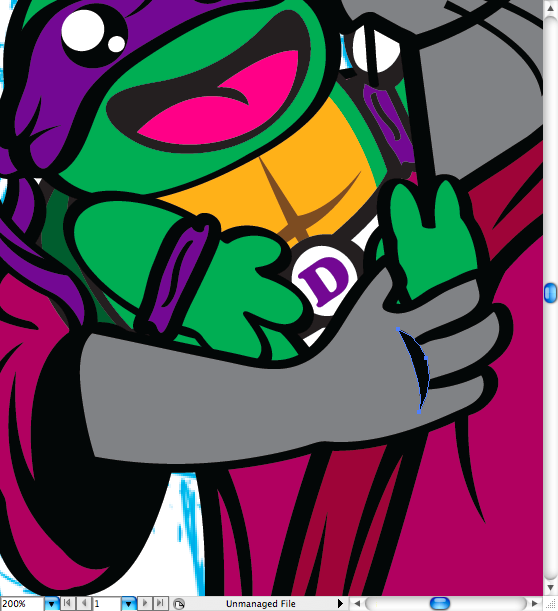
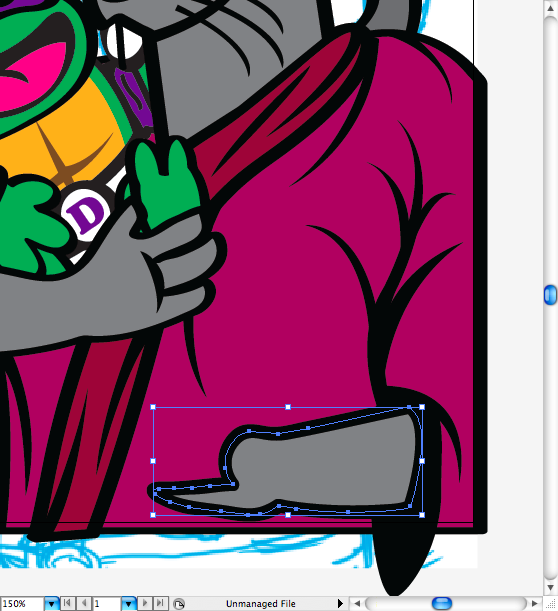
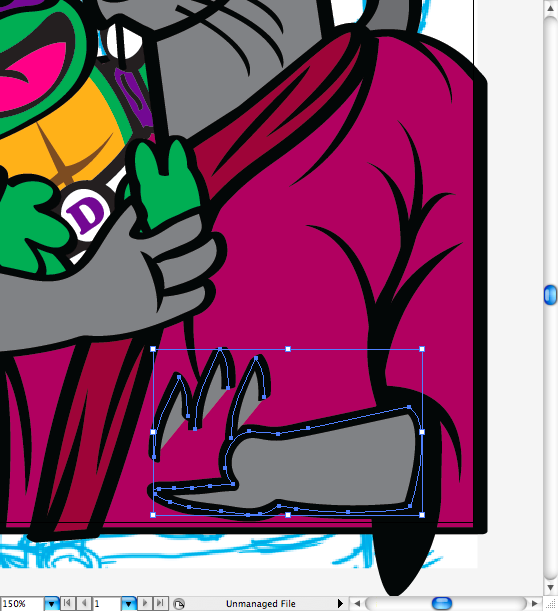
Some may say this is a cheap trick, but as we should always thinking about layers on a drawing, I really don’t need to draw the whole hand in this case If I’m going to place the pizza in front of it.
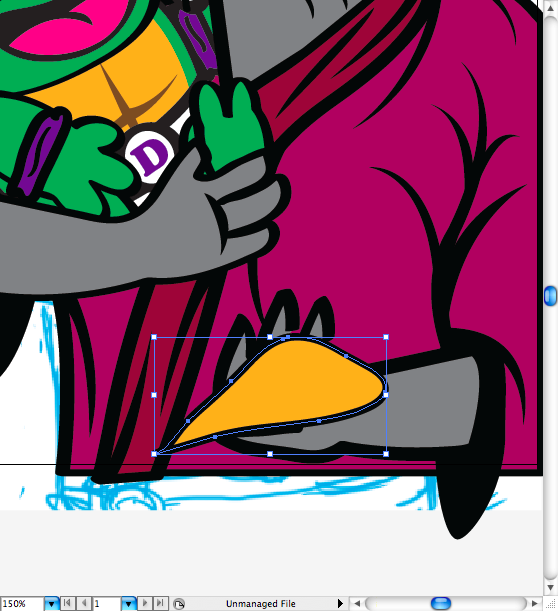
In order to create the pizza shape I first draw a triangle using pen tool (P), then adjust the borders to look more round using the smooth tool. In order to look more fatty, I duplicated this shape and placed it below with a darker color, also created a border using the pencil tool (N). And of course, this is mozzarella pizza, so I draw some circles using the ellipse tool (L) to represent the meat pieces.
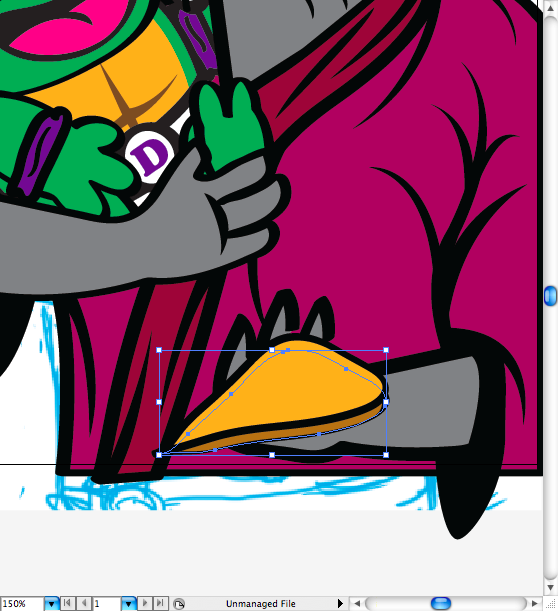
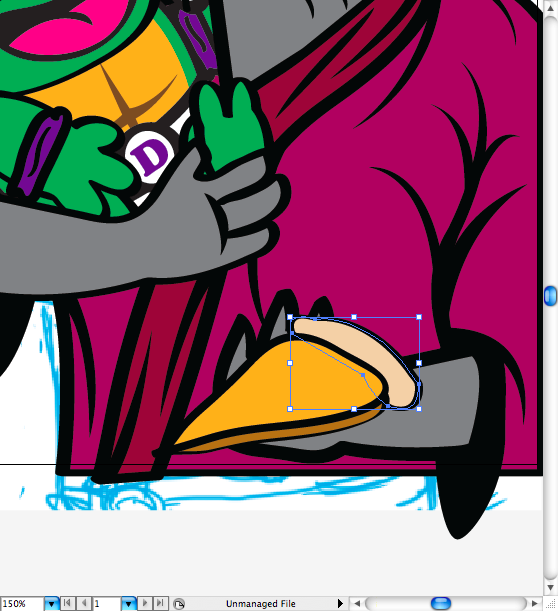
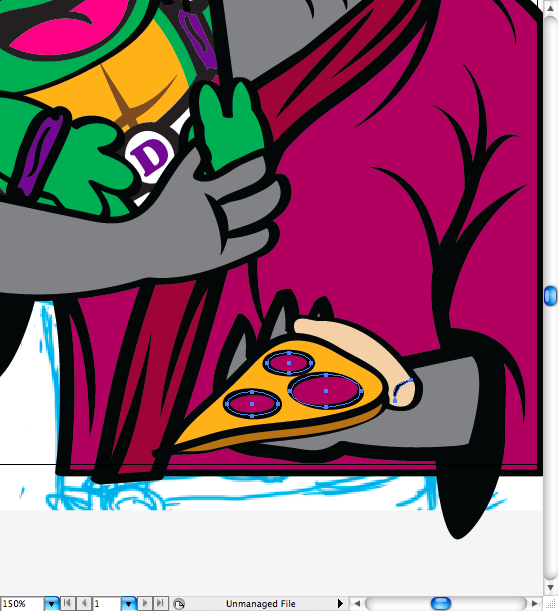
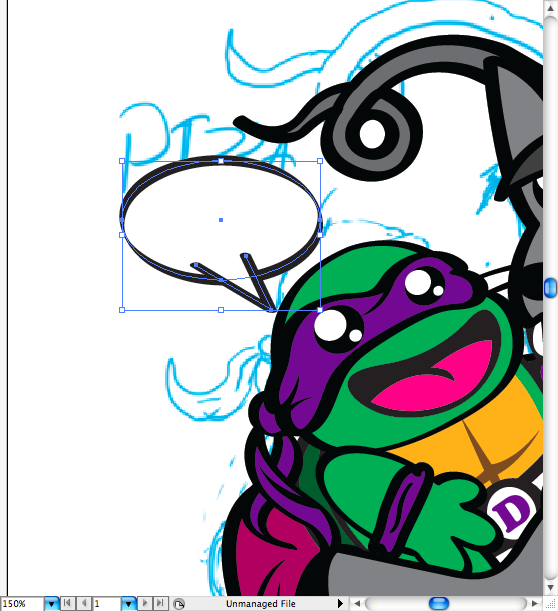
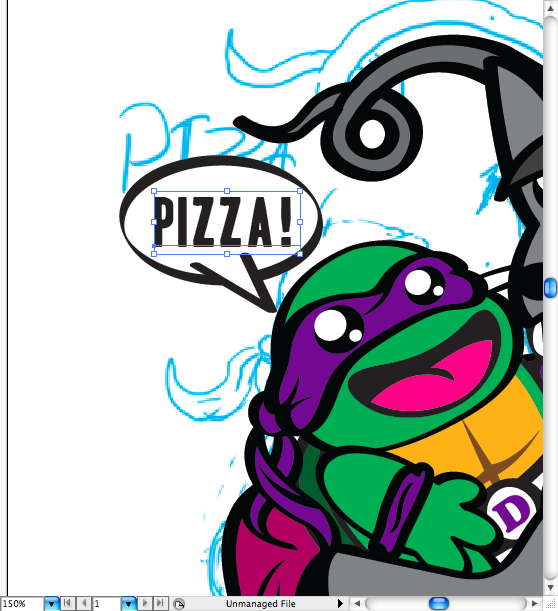
At last but not least, I create a classic comic balloon on the side of our little Donatello, okay guys we just finished it, hope you like d the process and tips.
The Final Result
Download the Illustrator File
Click here to download the Illustrator file used for this tutorial.
About the author
My name is Marcos Torres, I’m Graphic Artist from Porto Alegre, Brasil. You can get to know more about me by acessing my Personal Website or by following me on Twitter: @marcos333. You can also see some of my last projects at my Flickr.
Sponsored Links:


