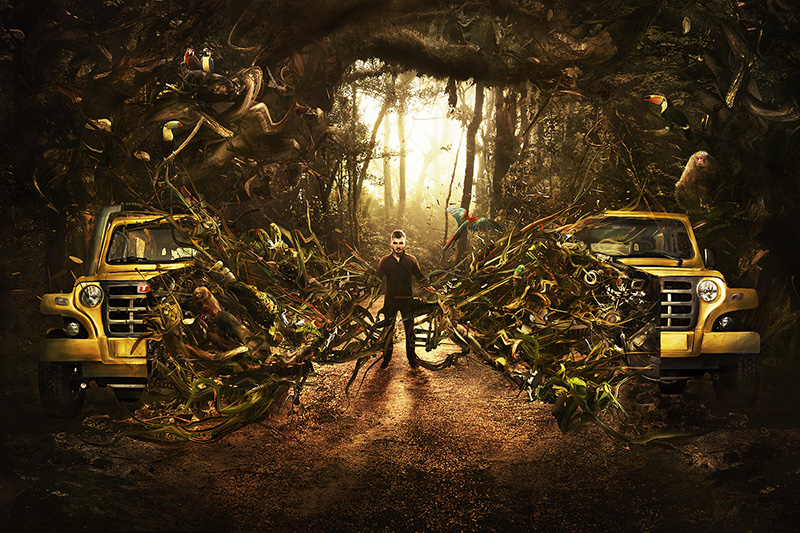
Background Info: this illustration was an A0 billboard produced for JWT Brazil’s Troller car campaign. The original brief came attached with a rough concept sketch and some loose directions for what the client wanted to see in the image. The final image was created using 3D objects, stock photos and digital painting. Most of the lighting manipulation used in this image was done with photoshop layer adjustments and painting via a tablet. All 3D objects were created with the software Cinema 4D. Due to scheduling conflicts with the Cannes festival, the deadline for this image was six days.
- Client: Troller
- Agency: JWT Brazil
- Art Direction: Thiago Arrighi, Pedro Hefs
- Illustration: Saad Moosajee
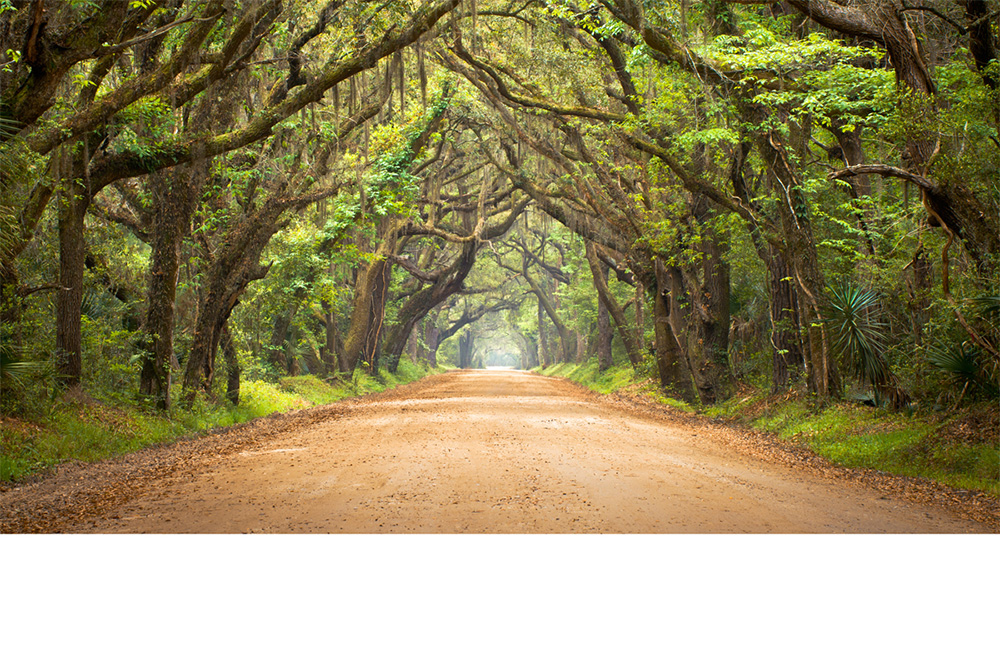
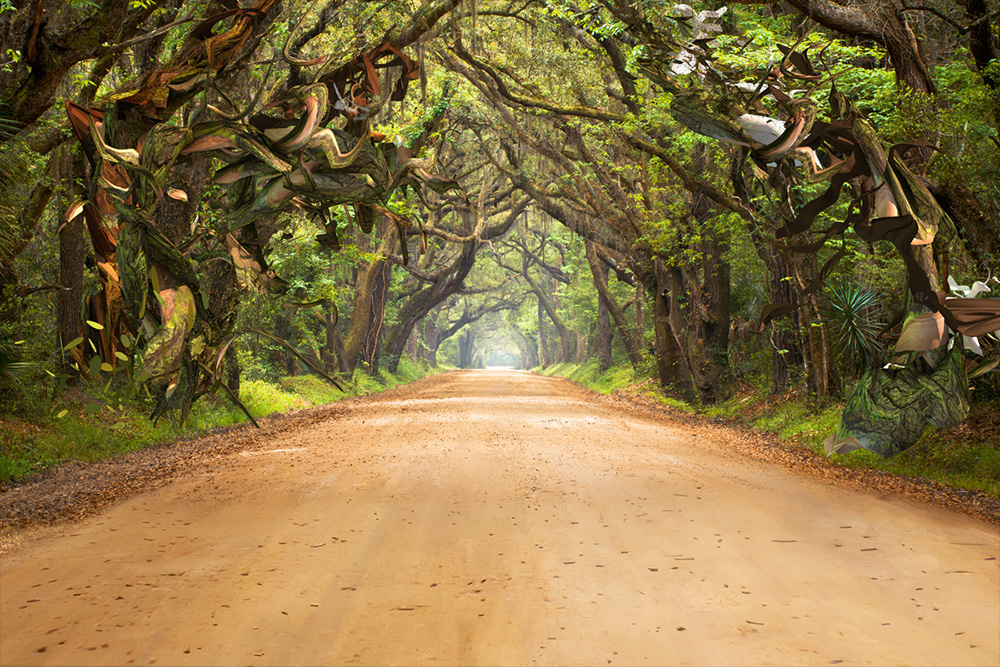
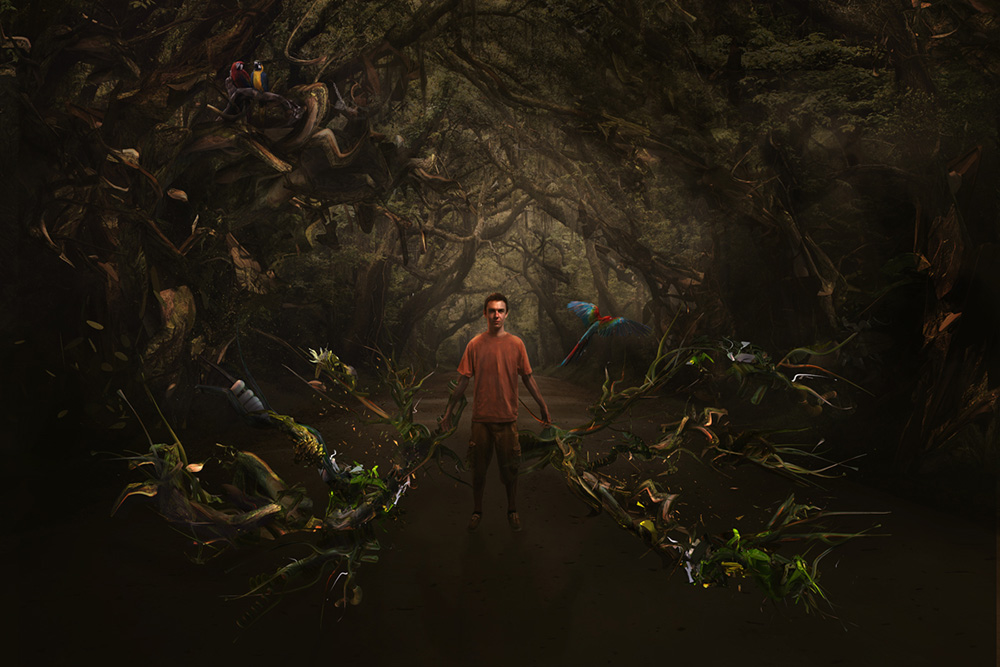
Step 1
original background plate is selected for manipulation. The perspective of the floor in the photograph and free flowing branches makes this an ideal image based on the brief provided.
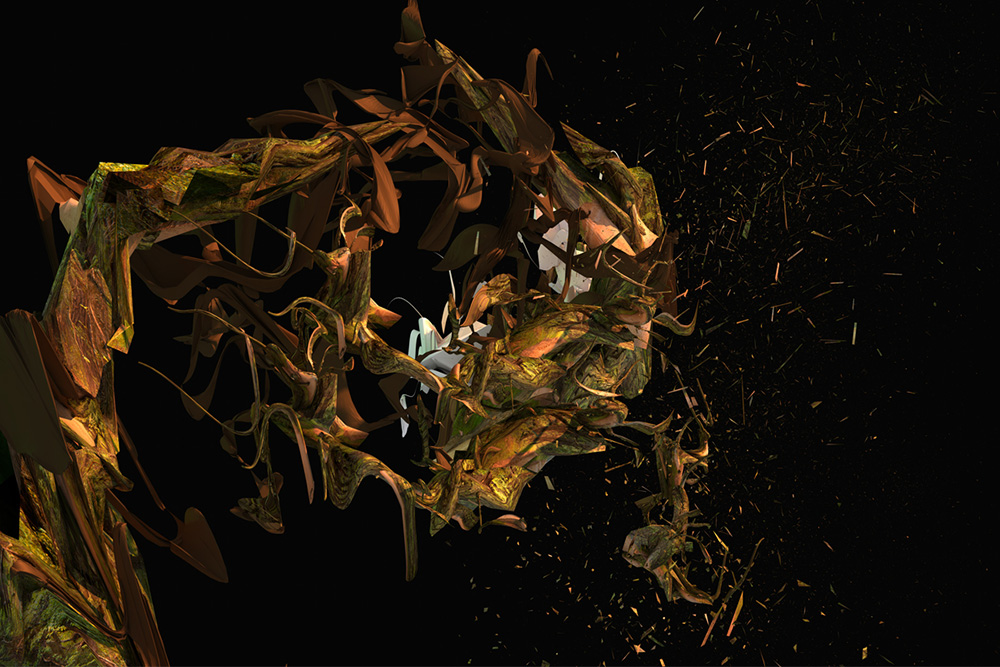
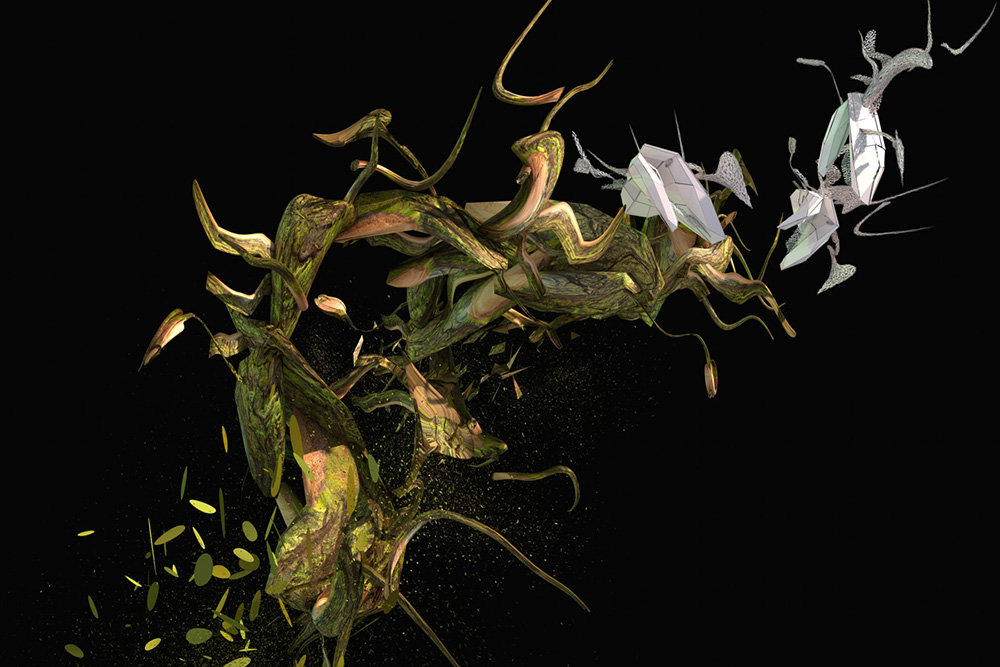
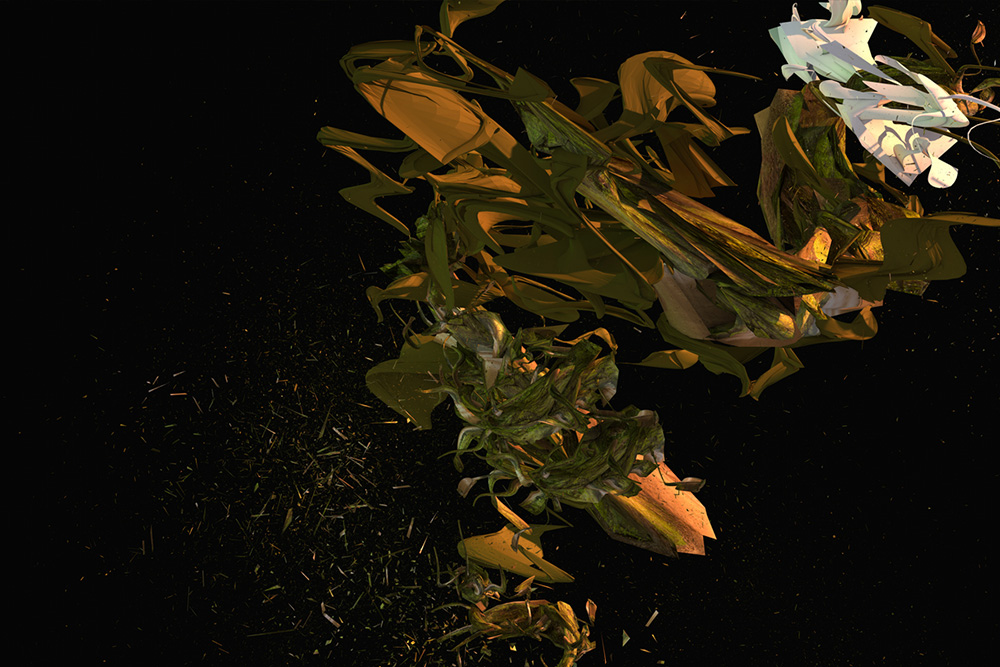
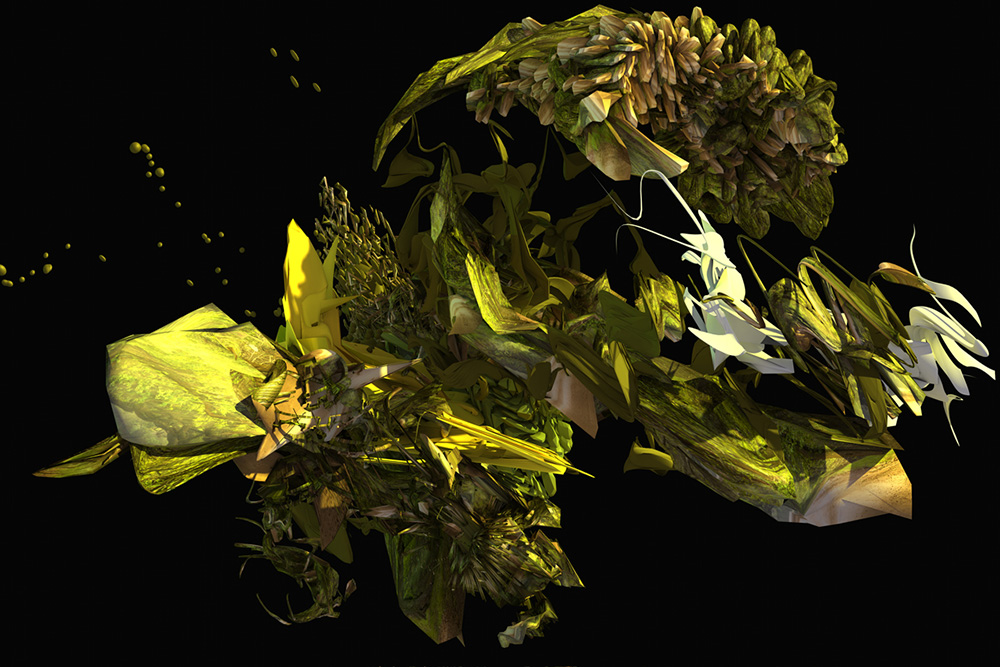
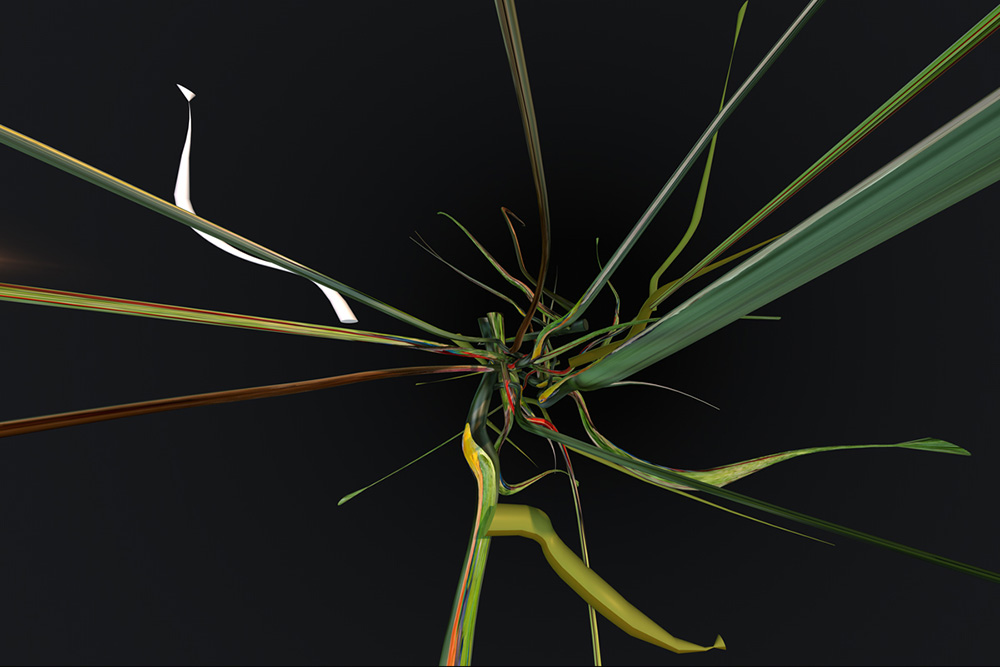
Step 2
3D renders are created to be used in the forest environment. The form of the objects are derived from the branches in the photo. The image is also manipulated into various bitmap textures that are applied to the 3D objects.
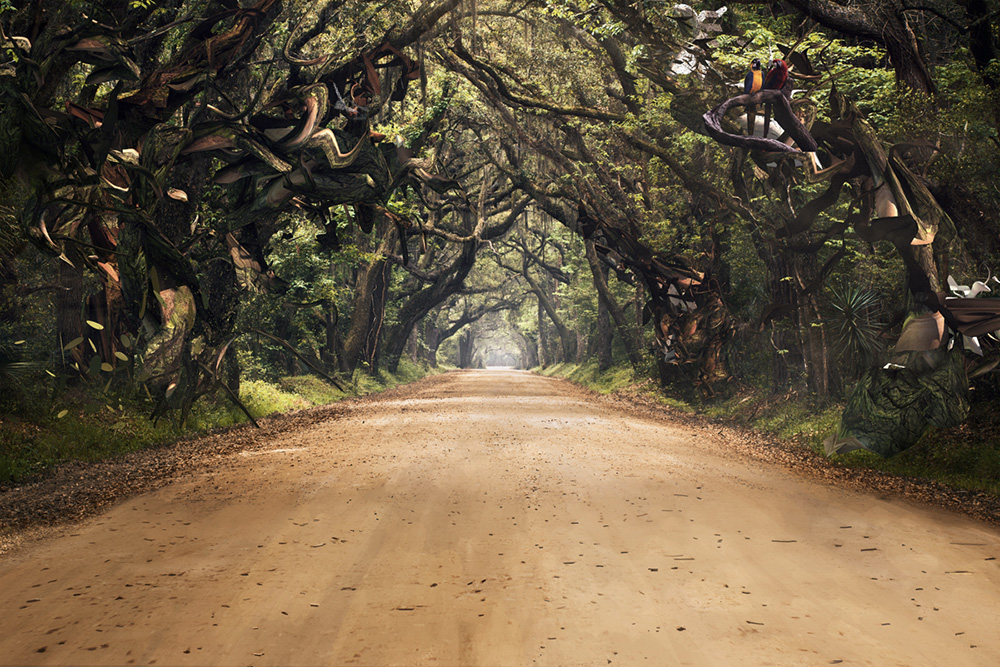
Step 3
The 3D objects are cut up and integrated into the branches of the photograph. The floor of the photo is also extended.
Step 4
More 3D objects are integrated into the branches, integration of the animal stocks also begins in addition to color and lighting adjustments.

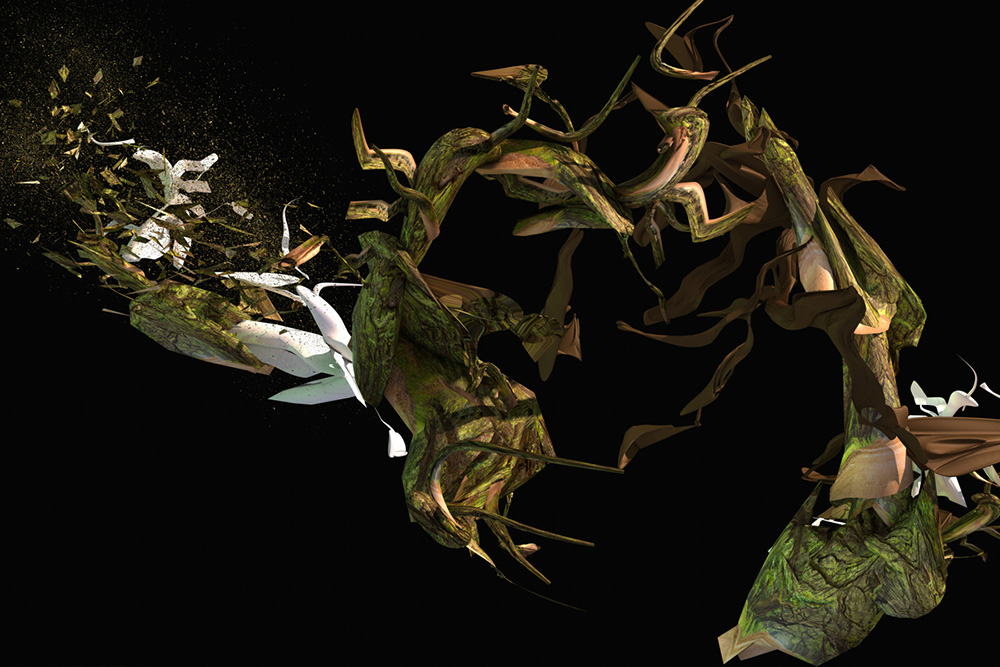
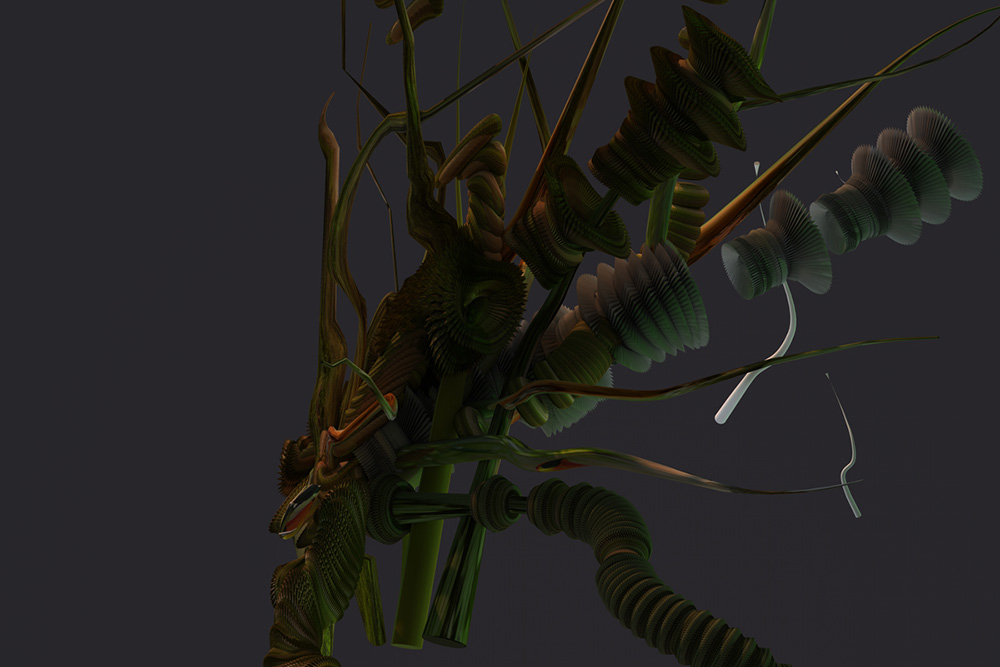
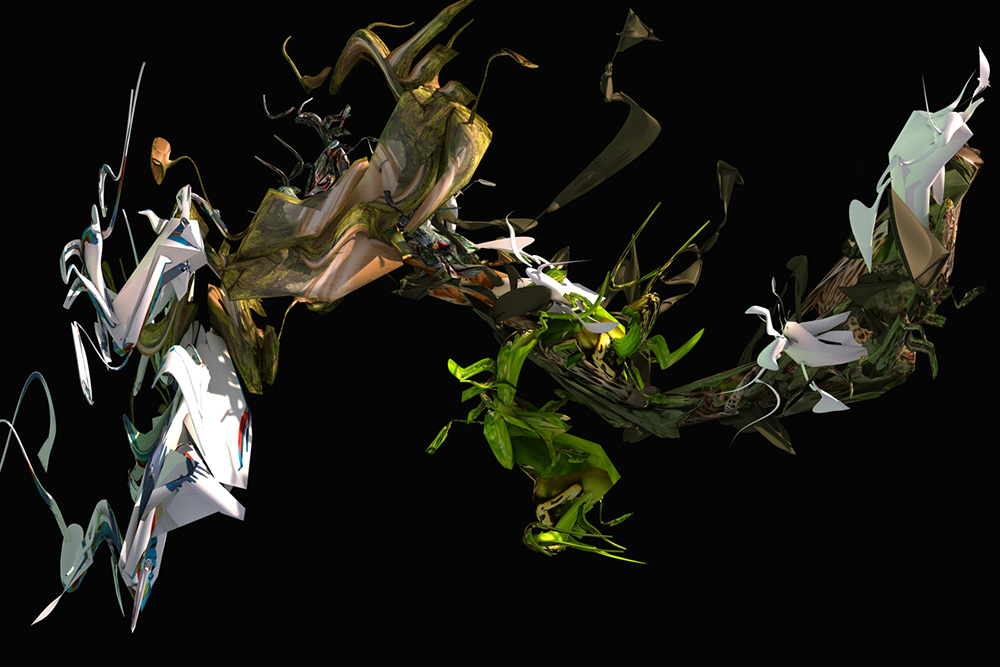
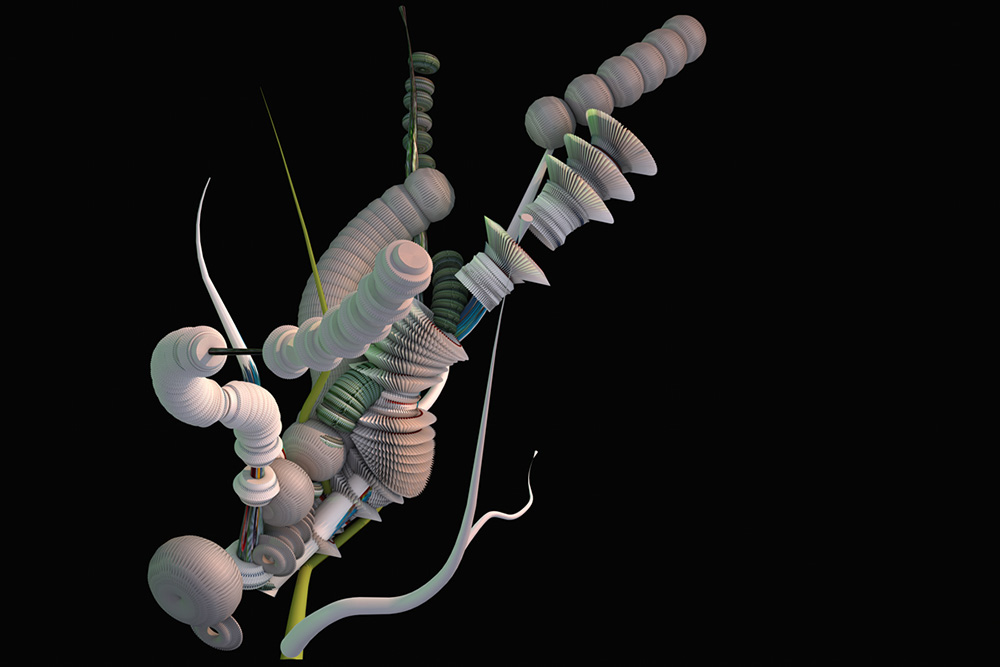
Step 5
3D objects that flow between the car and the humans hands are created. These forms contain loose references to the anatomy of the forest and the animals used in the piece. Numerous bitmap textures are mixed in order to achieve both consistency and variation in the light and color of the objects.
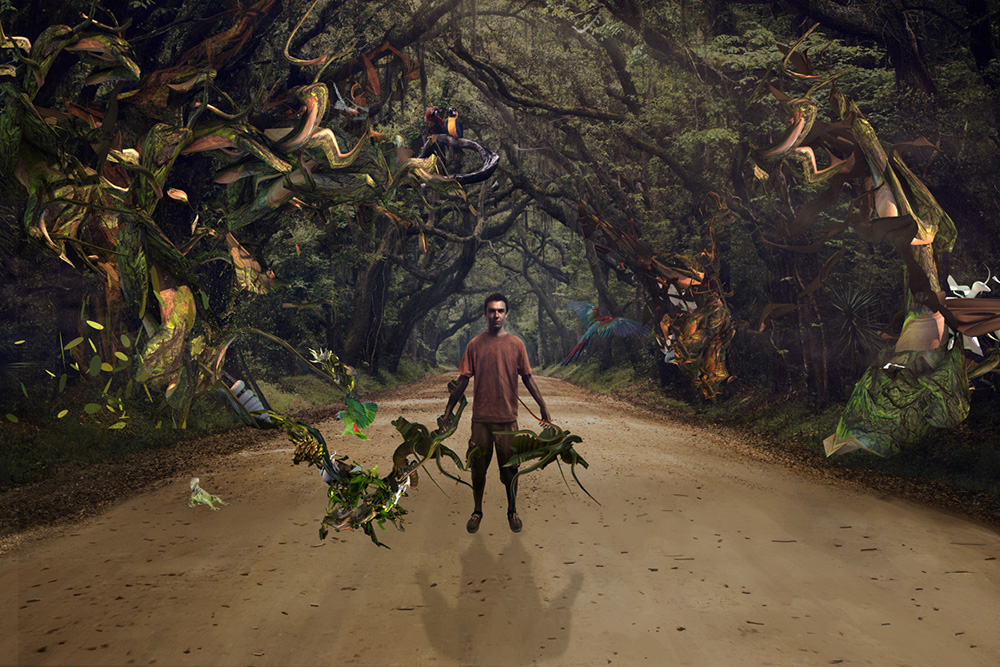
Step 6
Further integration of the 3D objects into the environment. Rough placement of the figure and the 3D branches around the figure.
Step 7
Continuing to experiment with the lighting and the forests environment.
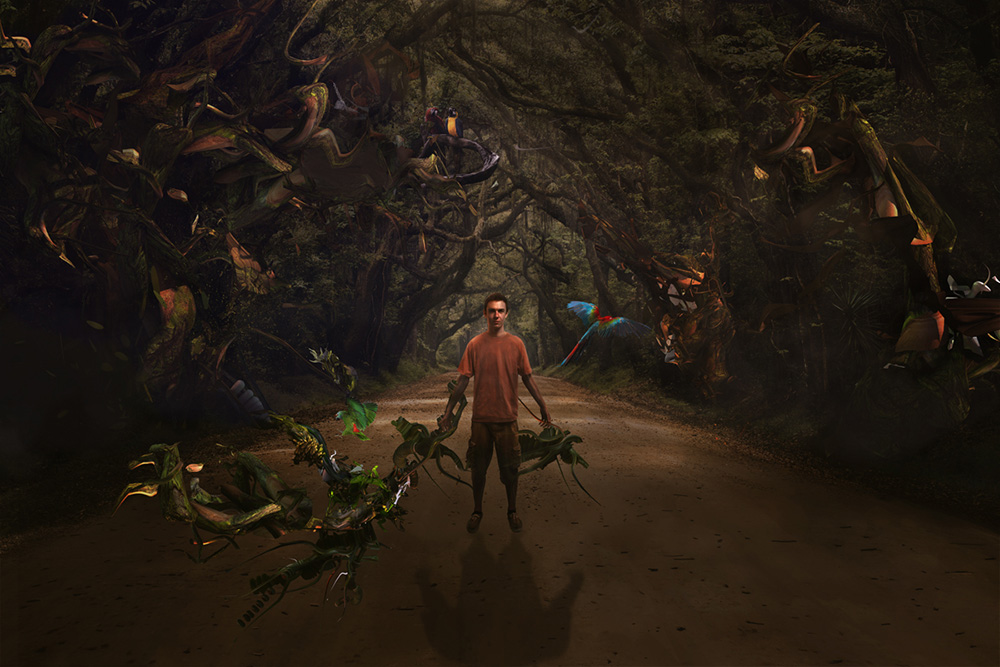
Step 8
Forest background is darkened and desaturated to disguise 3D objects. Foreground branches are developed.
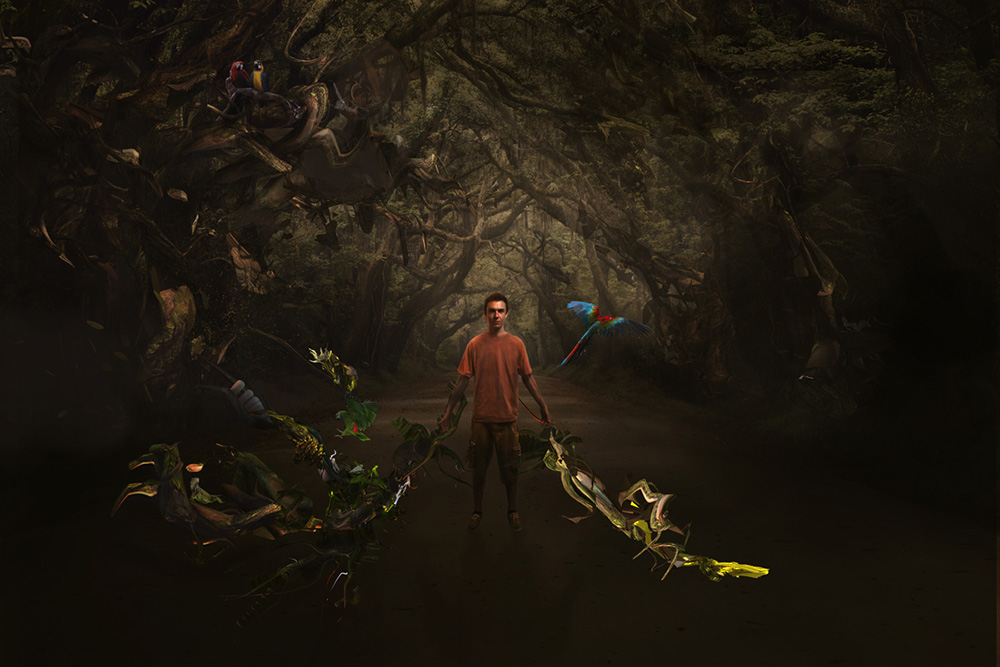
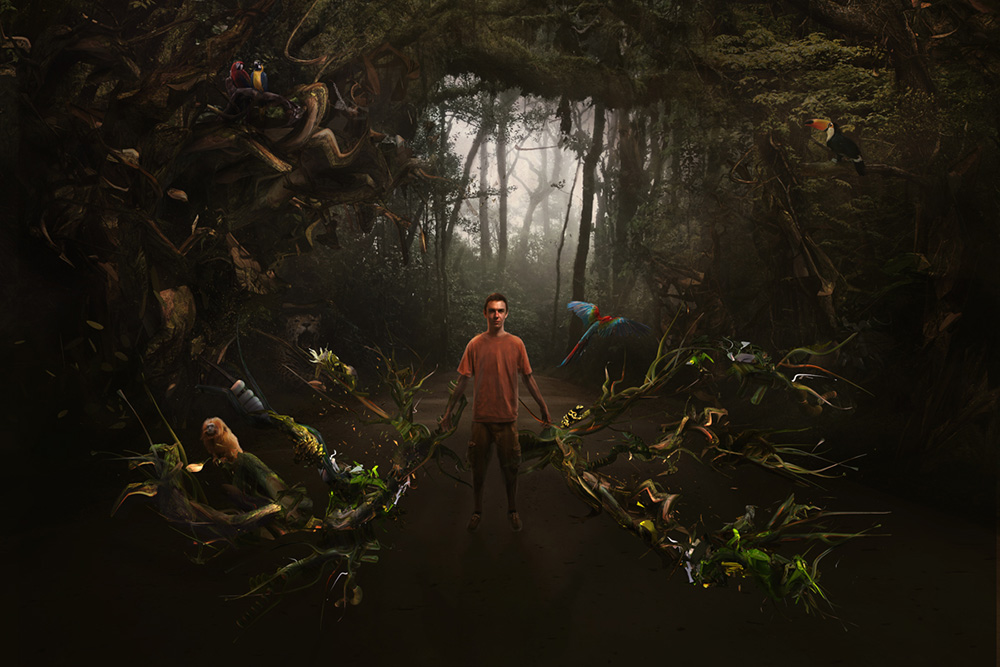
Step 9
Recreating the forest atmosphere required balancing dark, mysterious tones against areas of intense illumination. A main source of light was manipulated into the background in an effort to achieve the this effect.
Step 10
The light of the composition is adjusted to match the new light source.
Step 11
Continuing to adjust light & color of the composition, scale of figure and figures branches is reduced.
Step 12
Rough car is placed into image.
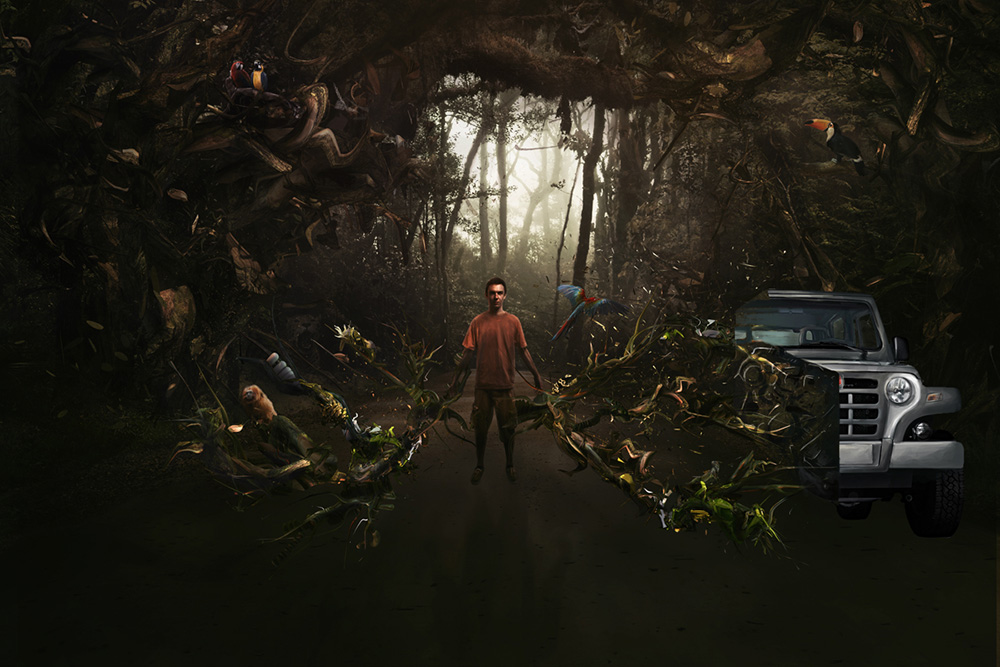
Step 13
Inside of the car is created via digital painting and 3D manipulation, lighting of car is adjusted to match the composition.
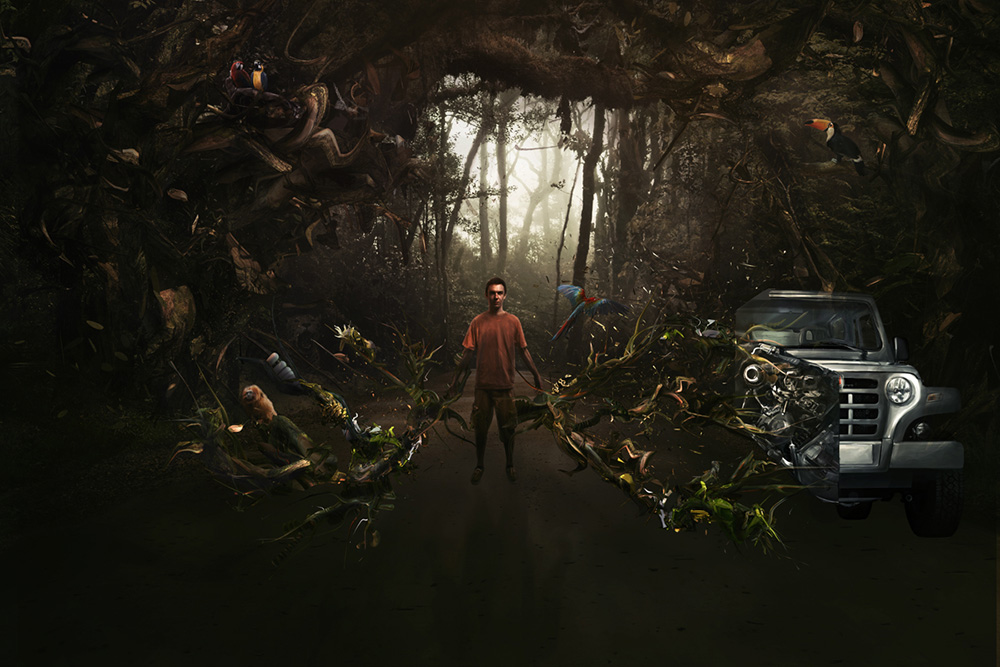
Step 14
Color adjustments are made on the composition to give it more warmth, second half of the car is roughly placed.

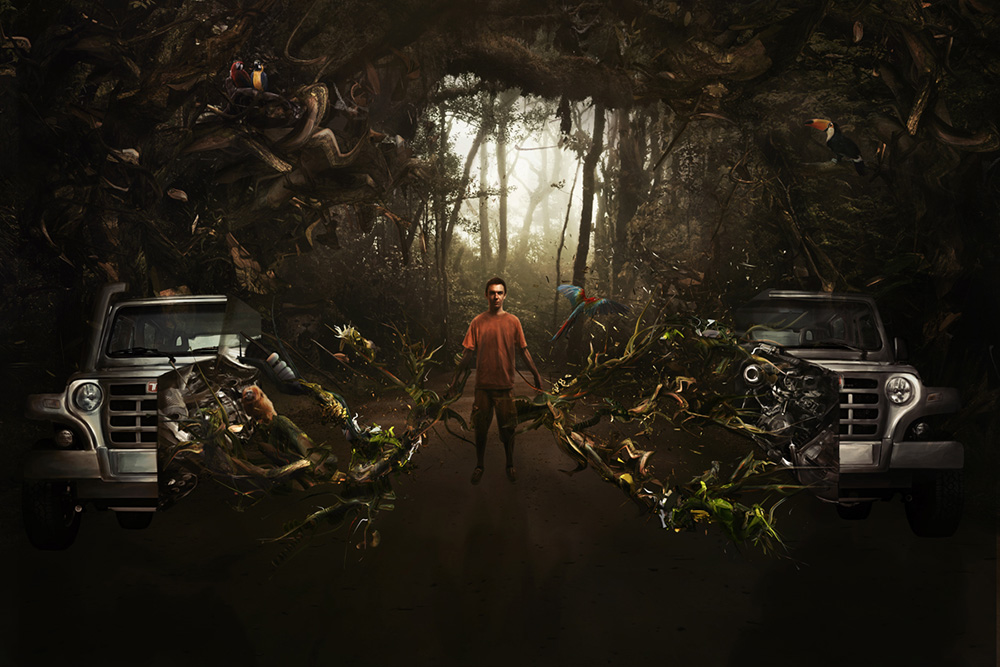
Step 15
More 3D branches and animals are added to the foreground.
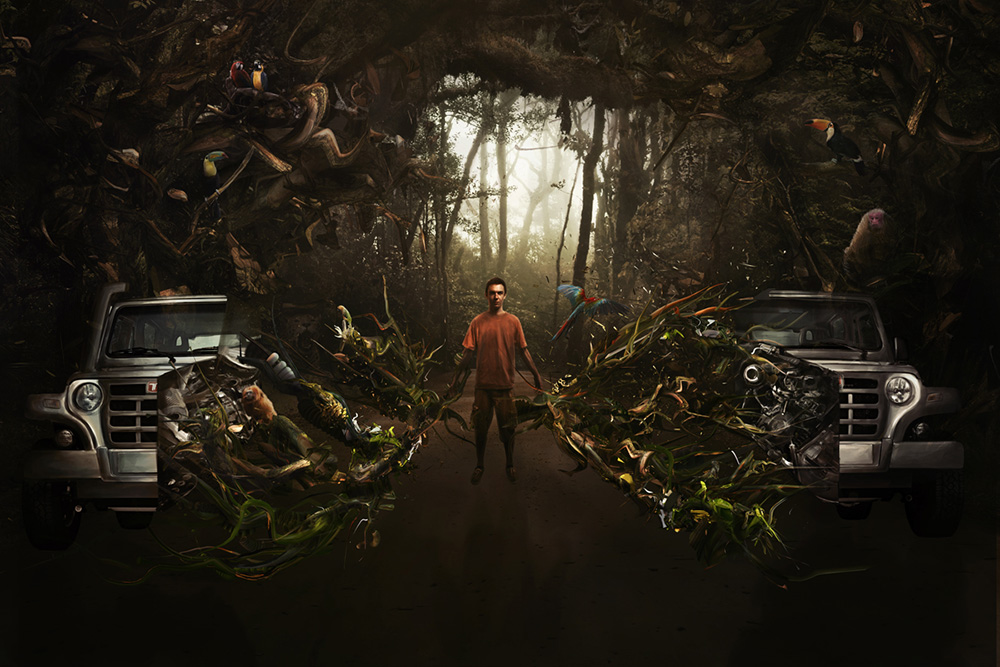
Step 16
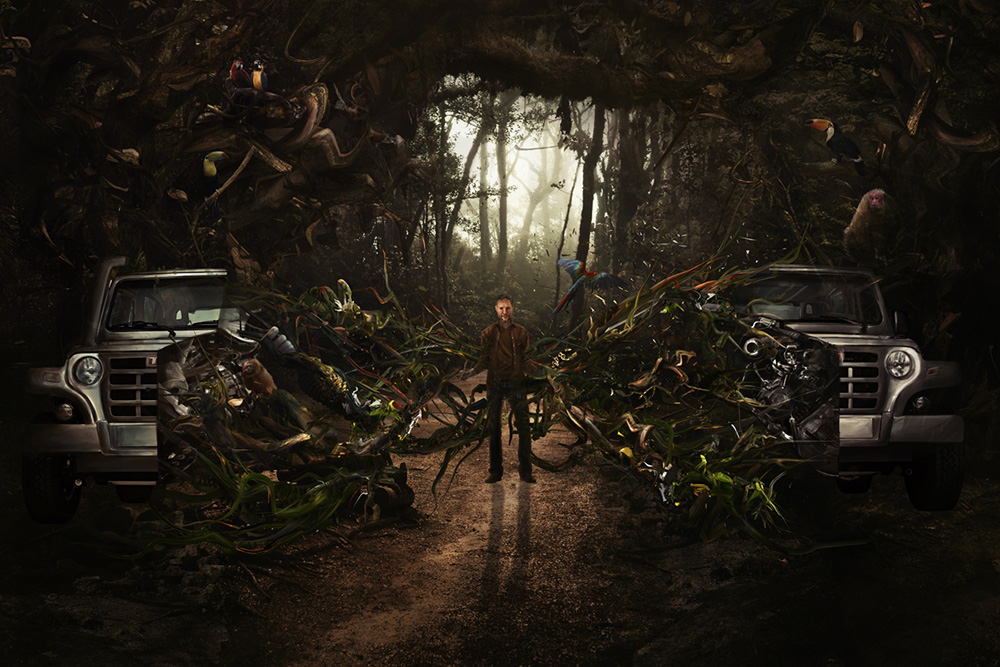
Placement of foreground objects is shifted to be more central. Figure is swapped out by request of the agency Art Directors to someone ethnically brazilian. Manipulation of the ground begins here by roughing in some stock textures.

Step 17
Placement of figure is adjusted, overall light of the image is adjusted. Ground is further manipulated with digital painting and cloned textures.
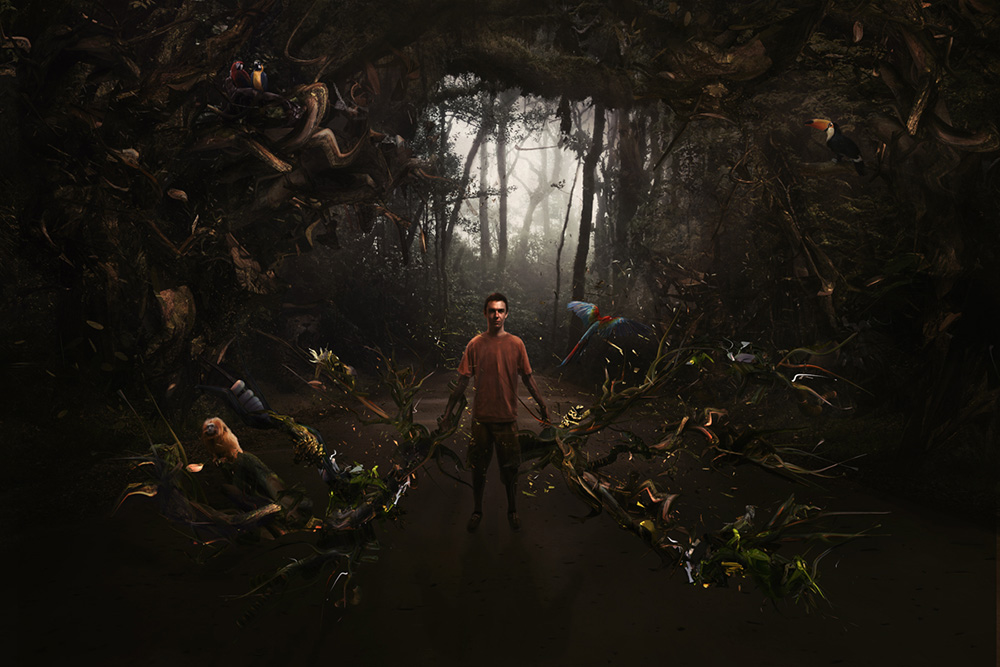
Step 18
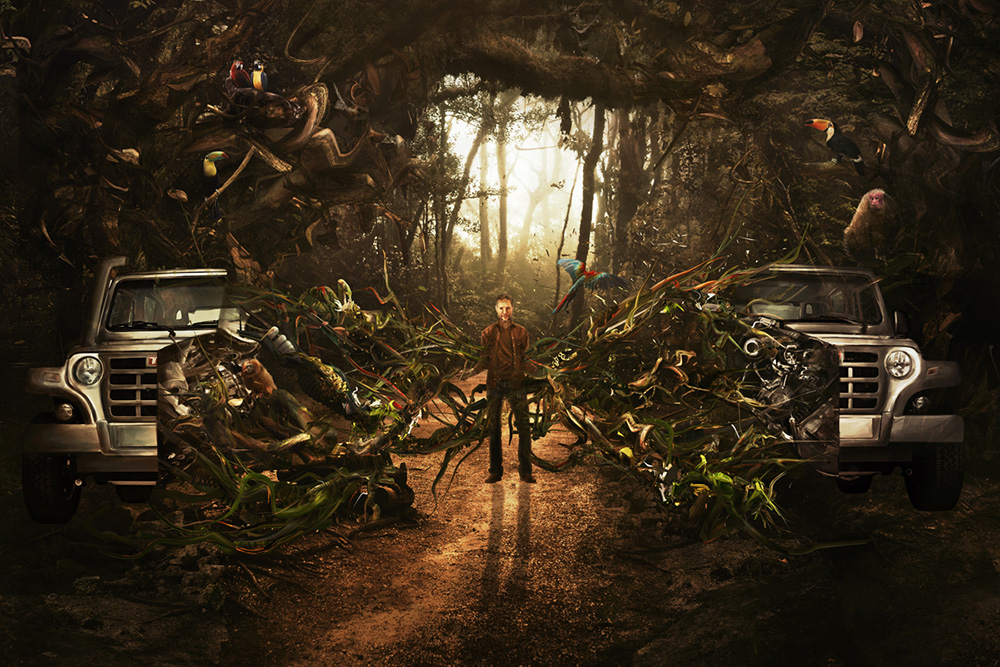
Quantity of light coming from the back light source is significantly increased to help capture the forest atmosphere. A warm, orange/green tinted light source is used.
Step 19
After debating with the art directors regarding about the new figure, a third figure cleared for potential use in the image. The form and light of this new figure felt much more natural in the images environment. Darker lighting is also added to the ground.
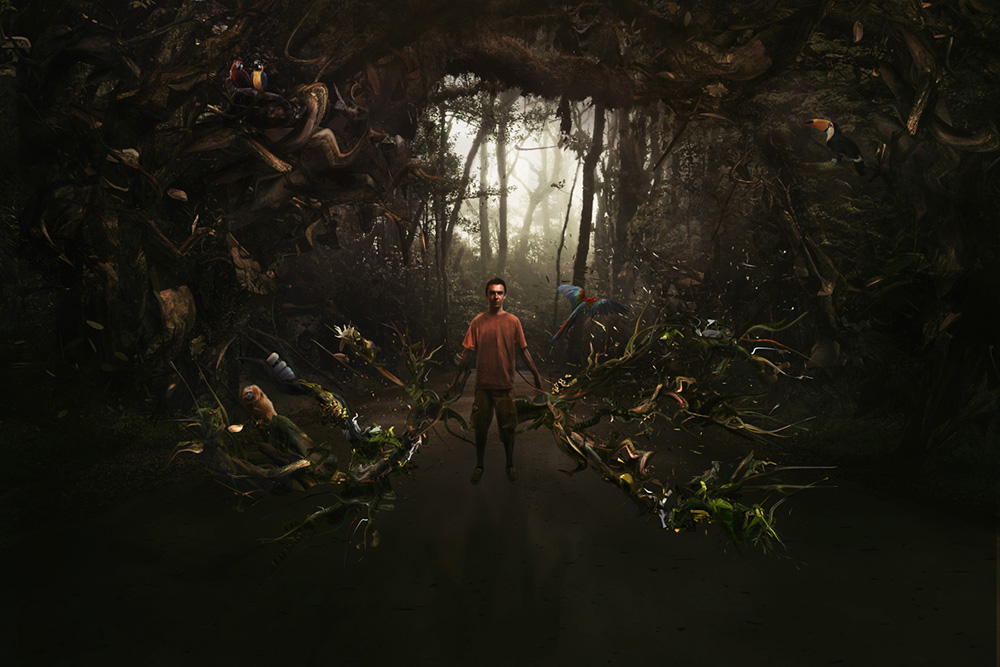
Step 20
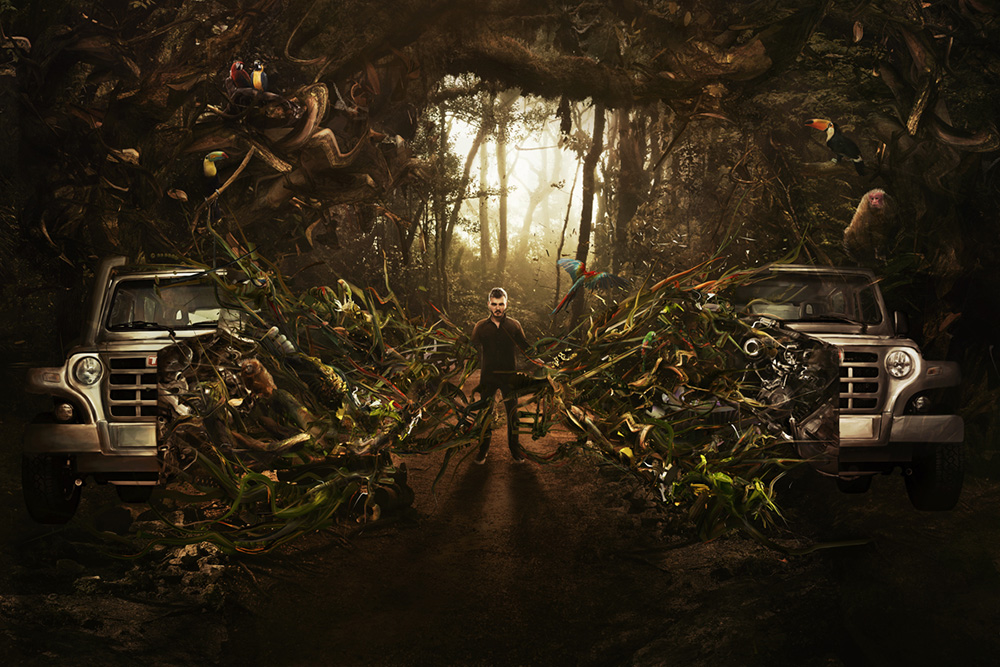
Lighting is once again boosted from the background, this time spreading into the foreground. The texture and perspective of the ground is adjusted to match the original perspective of the floor, and the cars are shifted to a slightly more central position.

Step 21
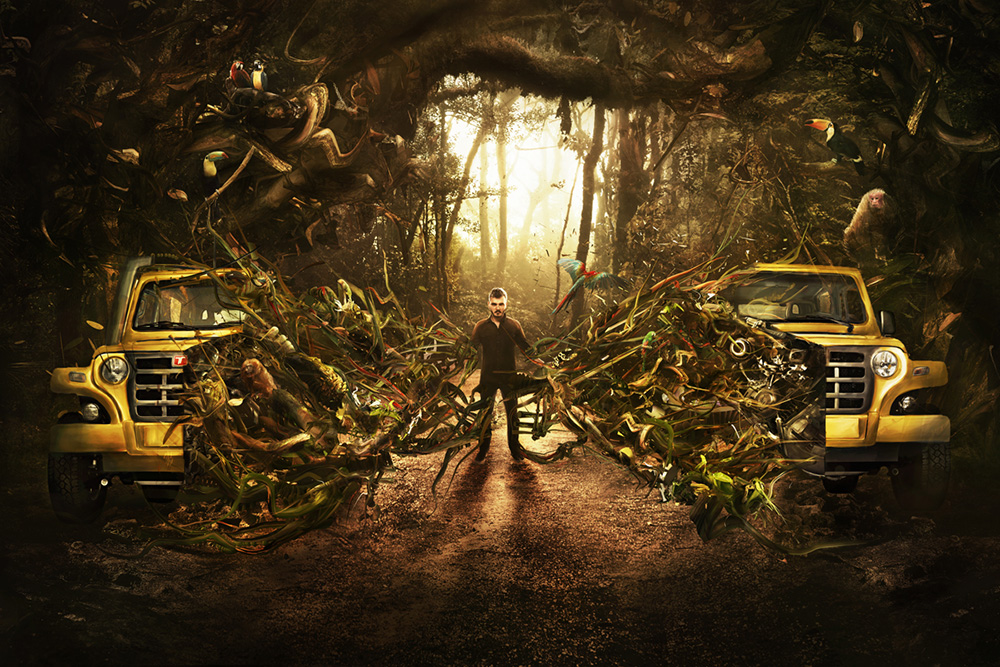
Approval is given for the cars to be colored, which proved to be a key aspect of this illustration. The cars are digitally painted to have a color that aligns with the hue of the main light source, giving the image a more unified aesthetic.
Conclusion
Final lighting adjustments and sharpening.